
How to add a lining to the Jameela jacket Sewing pattern
Hello, my name is Manuela. You can find me under @the.sew.addict on Instagram. Jasmin from Sewing Patterns by Masin has asked me to write this guest blog post for her website, I hope you’ll enjoy!
The Jameela Jacket was instant love , I really like the look of it , especially the pockets. A couple of weeks ago I went shopping with the boys and that’s when I saw a similar jacket in a corduroy fabric with a cozy Sherpa lining. So I thought why not try and make it myself? I went a bit rogue with my first jacket, adding the lining in the middle of the process, not taking any notes or pictures. So I’ve tried to recreate the process by making a 2nd version. I’ll walk you through the process of each version. The first one is my corduroy jacket, where I lined only the bodice since the Sherpa is really thick and I didn’t want that extra bulk added to the sleeves. Be aware that the pictures I’m using for the semi-lined version are not a 100% match to the progress since I didn’t take any process pictures for my first jacket. The second one is completely lined.

Now, please bear in mind I’m not a professional seamstress and I’m on a constant learning curve when it comes to creating my own clothes. The process pictures I’m using are of my second version. Use the original pattern instructions for the steps that are not explained here.
Semi-lined Jameela jacket (bodice only)
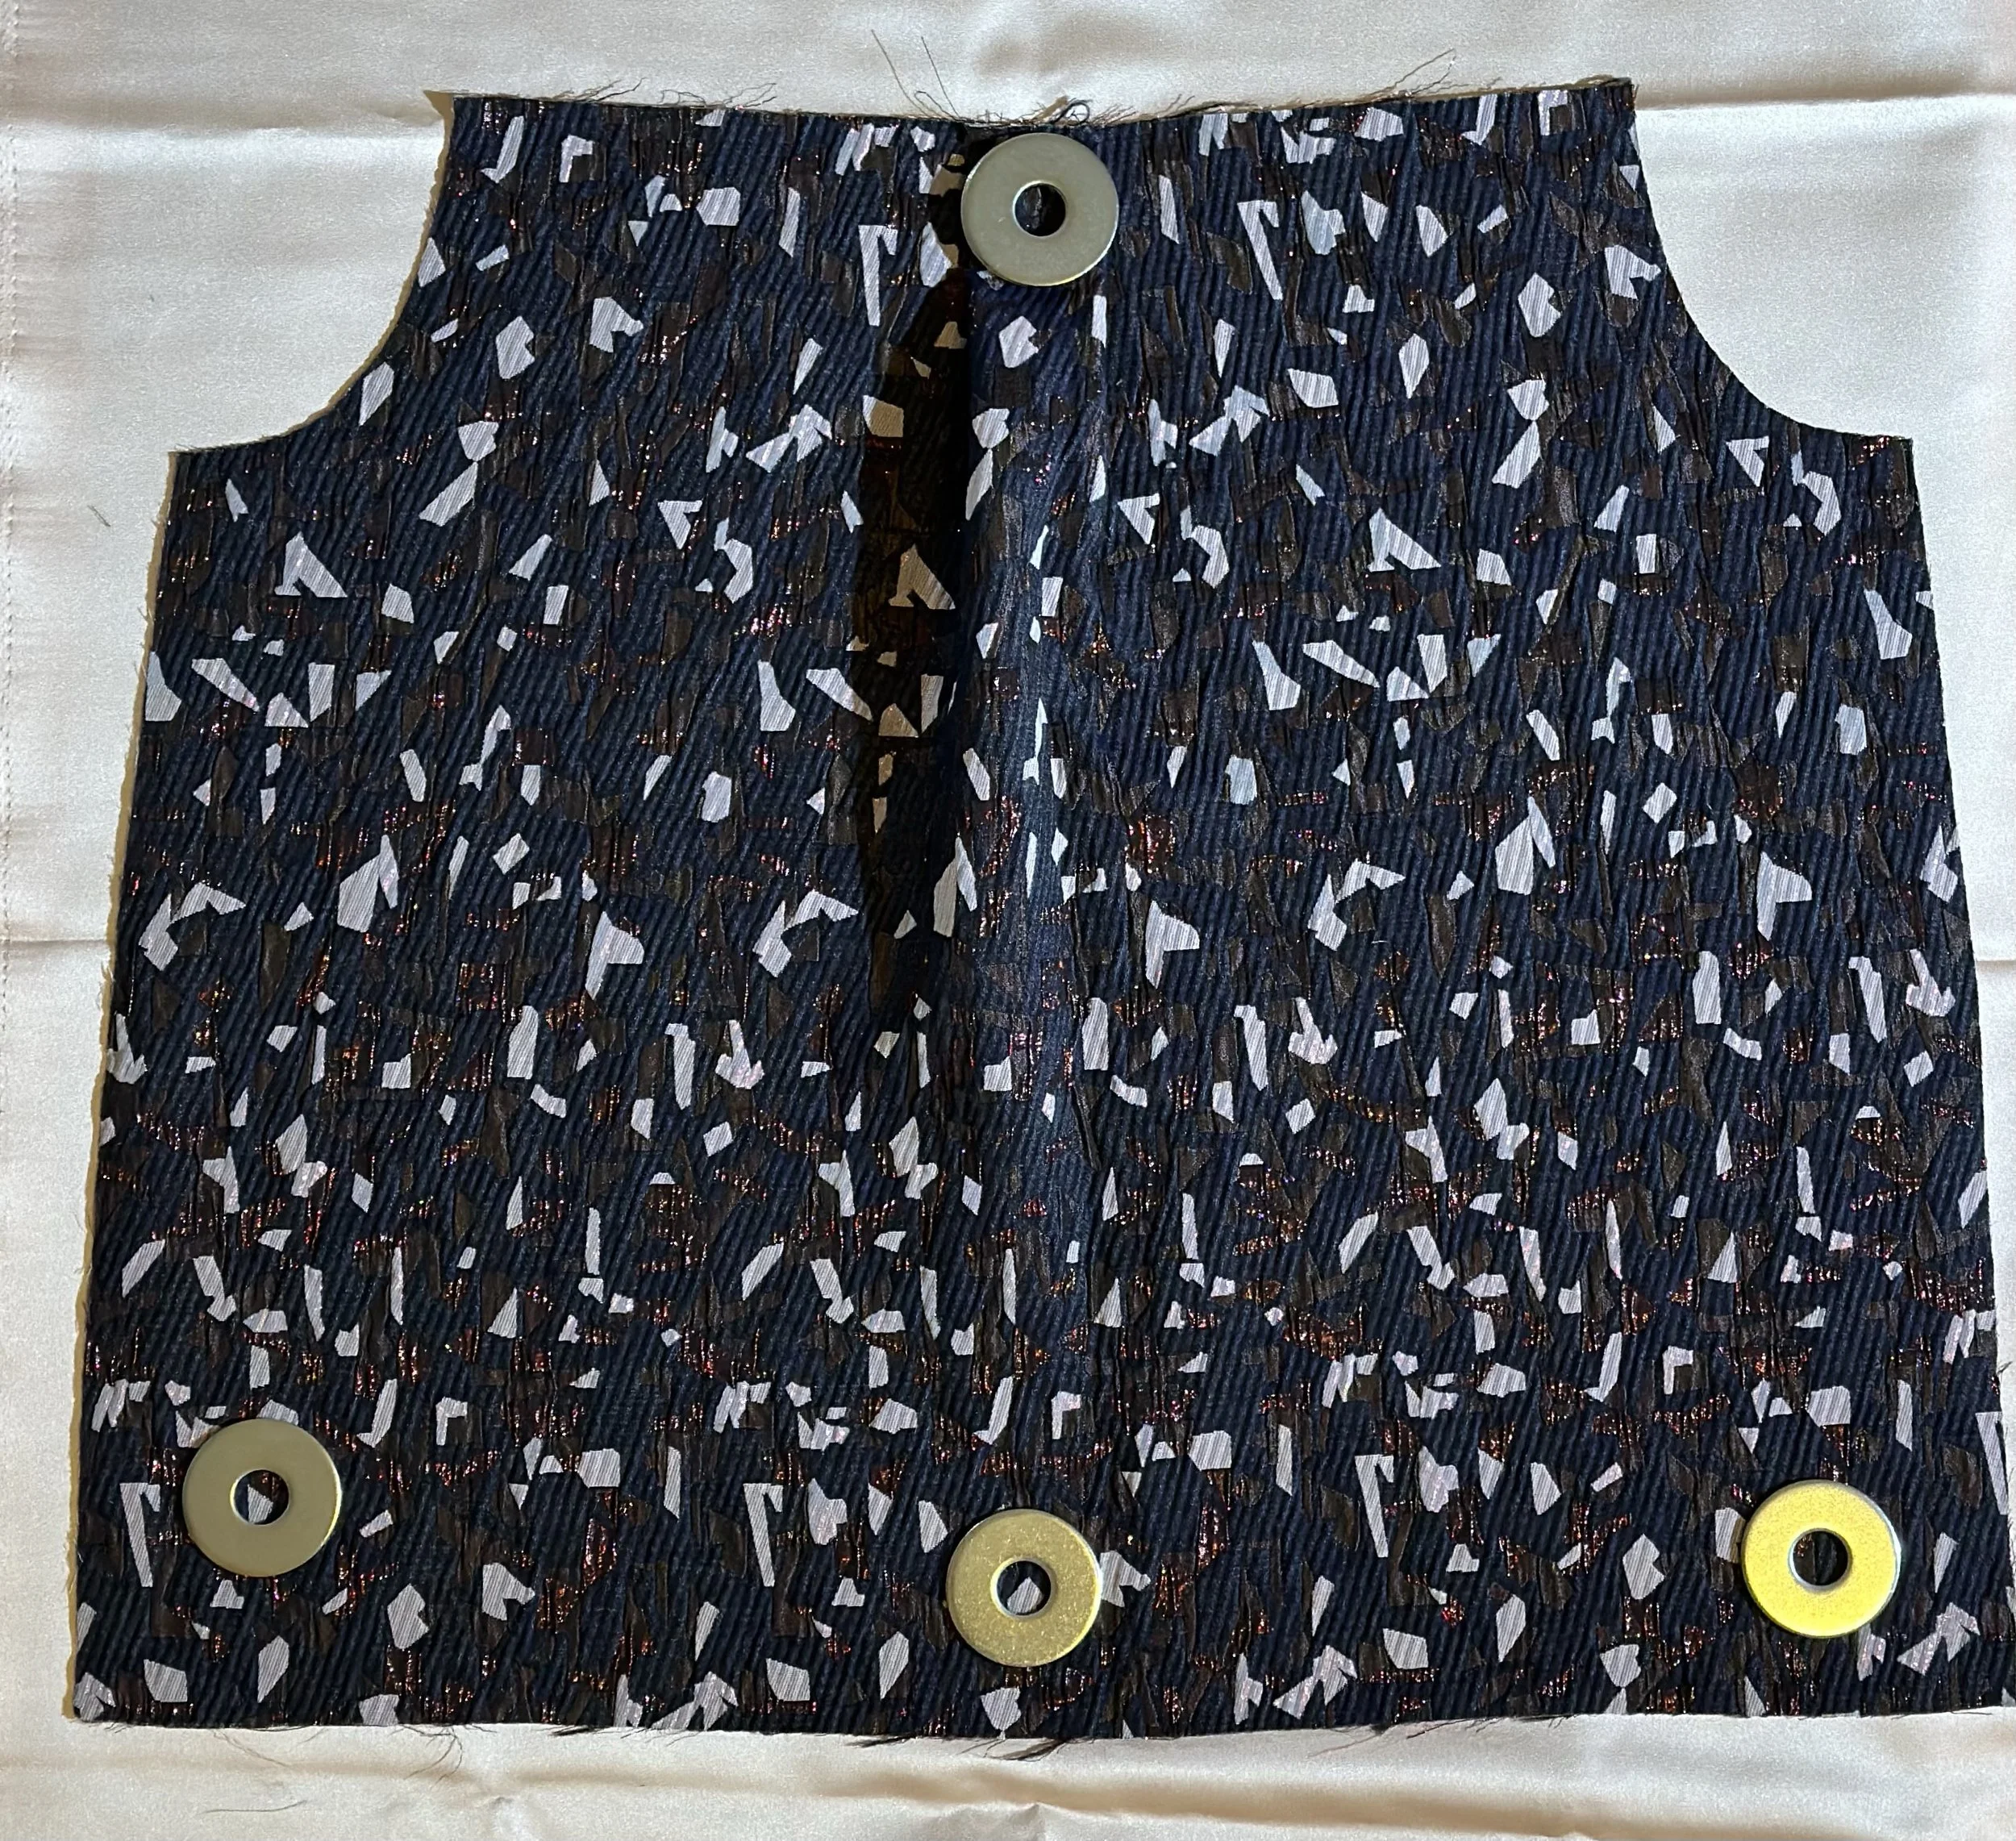
To start with, you need to adjust the following pattern pieces for the lining: View A&B Back - take off 6 cm of the length at the bottom, the 1 cm seam allowance will be still included. According to the original pattern instructions (picture below) there are 1cm seam allowance folded under and a 3 cm seam which would give us a total of 7 cm . We have to subtract the 1 cm seam allowance so we end up with 6 cm less from the original pattern piece for the lining.
Front lining pattern pieces :
View A cropped version use the upper front pattern piece and take off 1 cm.
View B long version add 8 cm to the length of the upper front pattern piece.
The easiest & safest way to determine the length of the front lining pieces is to finish the outer front pieces first with pockets attached , place them on top of the lining fabric or tracing paper , trace and subtract the 6 cm ( on the lining fabric or paper only) at the bottom for the seam. As mentioned before the 1 cm seam allowance will be still included for attaching outer fabric to the facing .

Cut out the following pieces for the lining: 1* back piece, 1 pair of the front , 1 pair of pocket lining. In case you have a very thick lining fabric, like the Sherpa fleece I’ve used, you might want to eliminate the fold on the back . This picture is just an indicator about what I did with my corduroy jacket . Unfortunately I didn’t take any progress pictures with my first jacket.
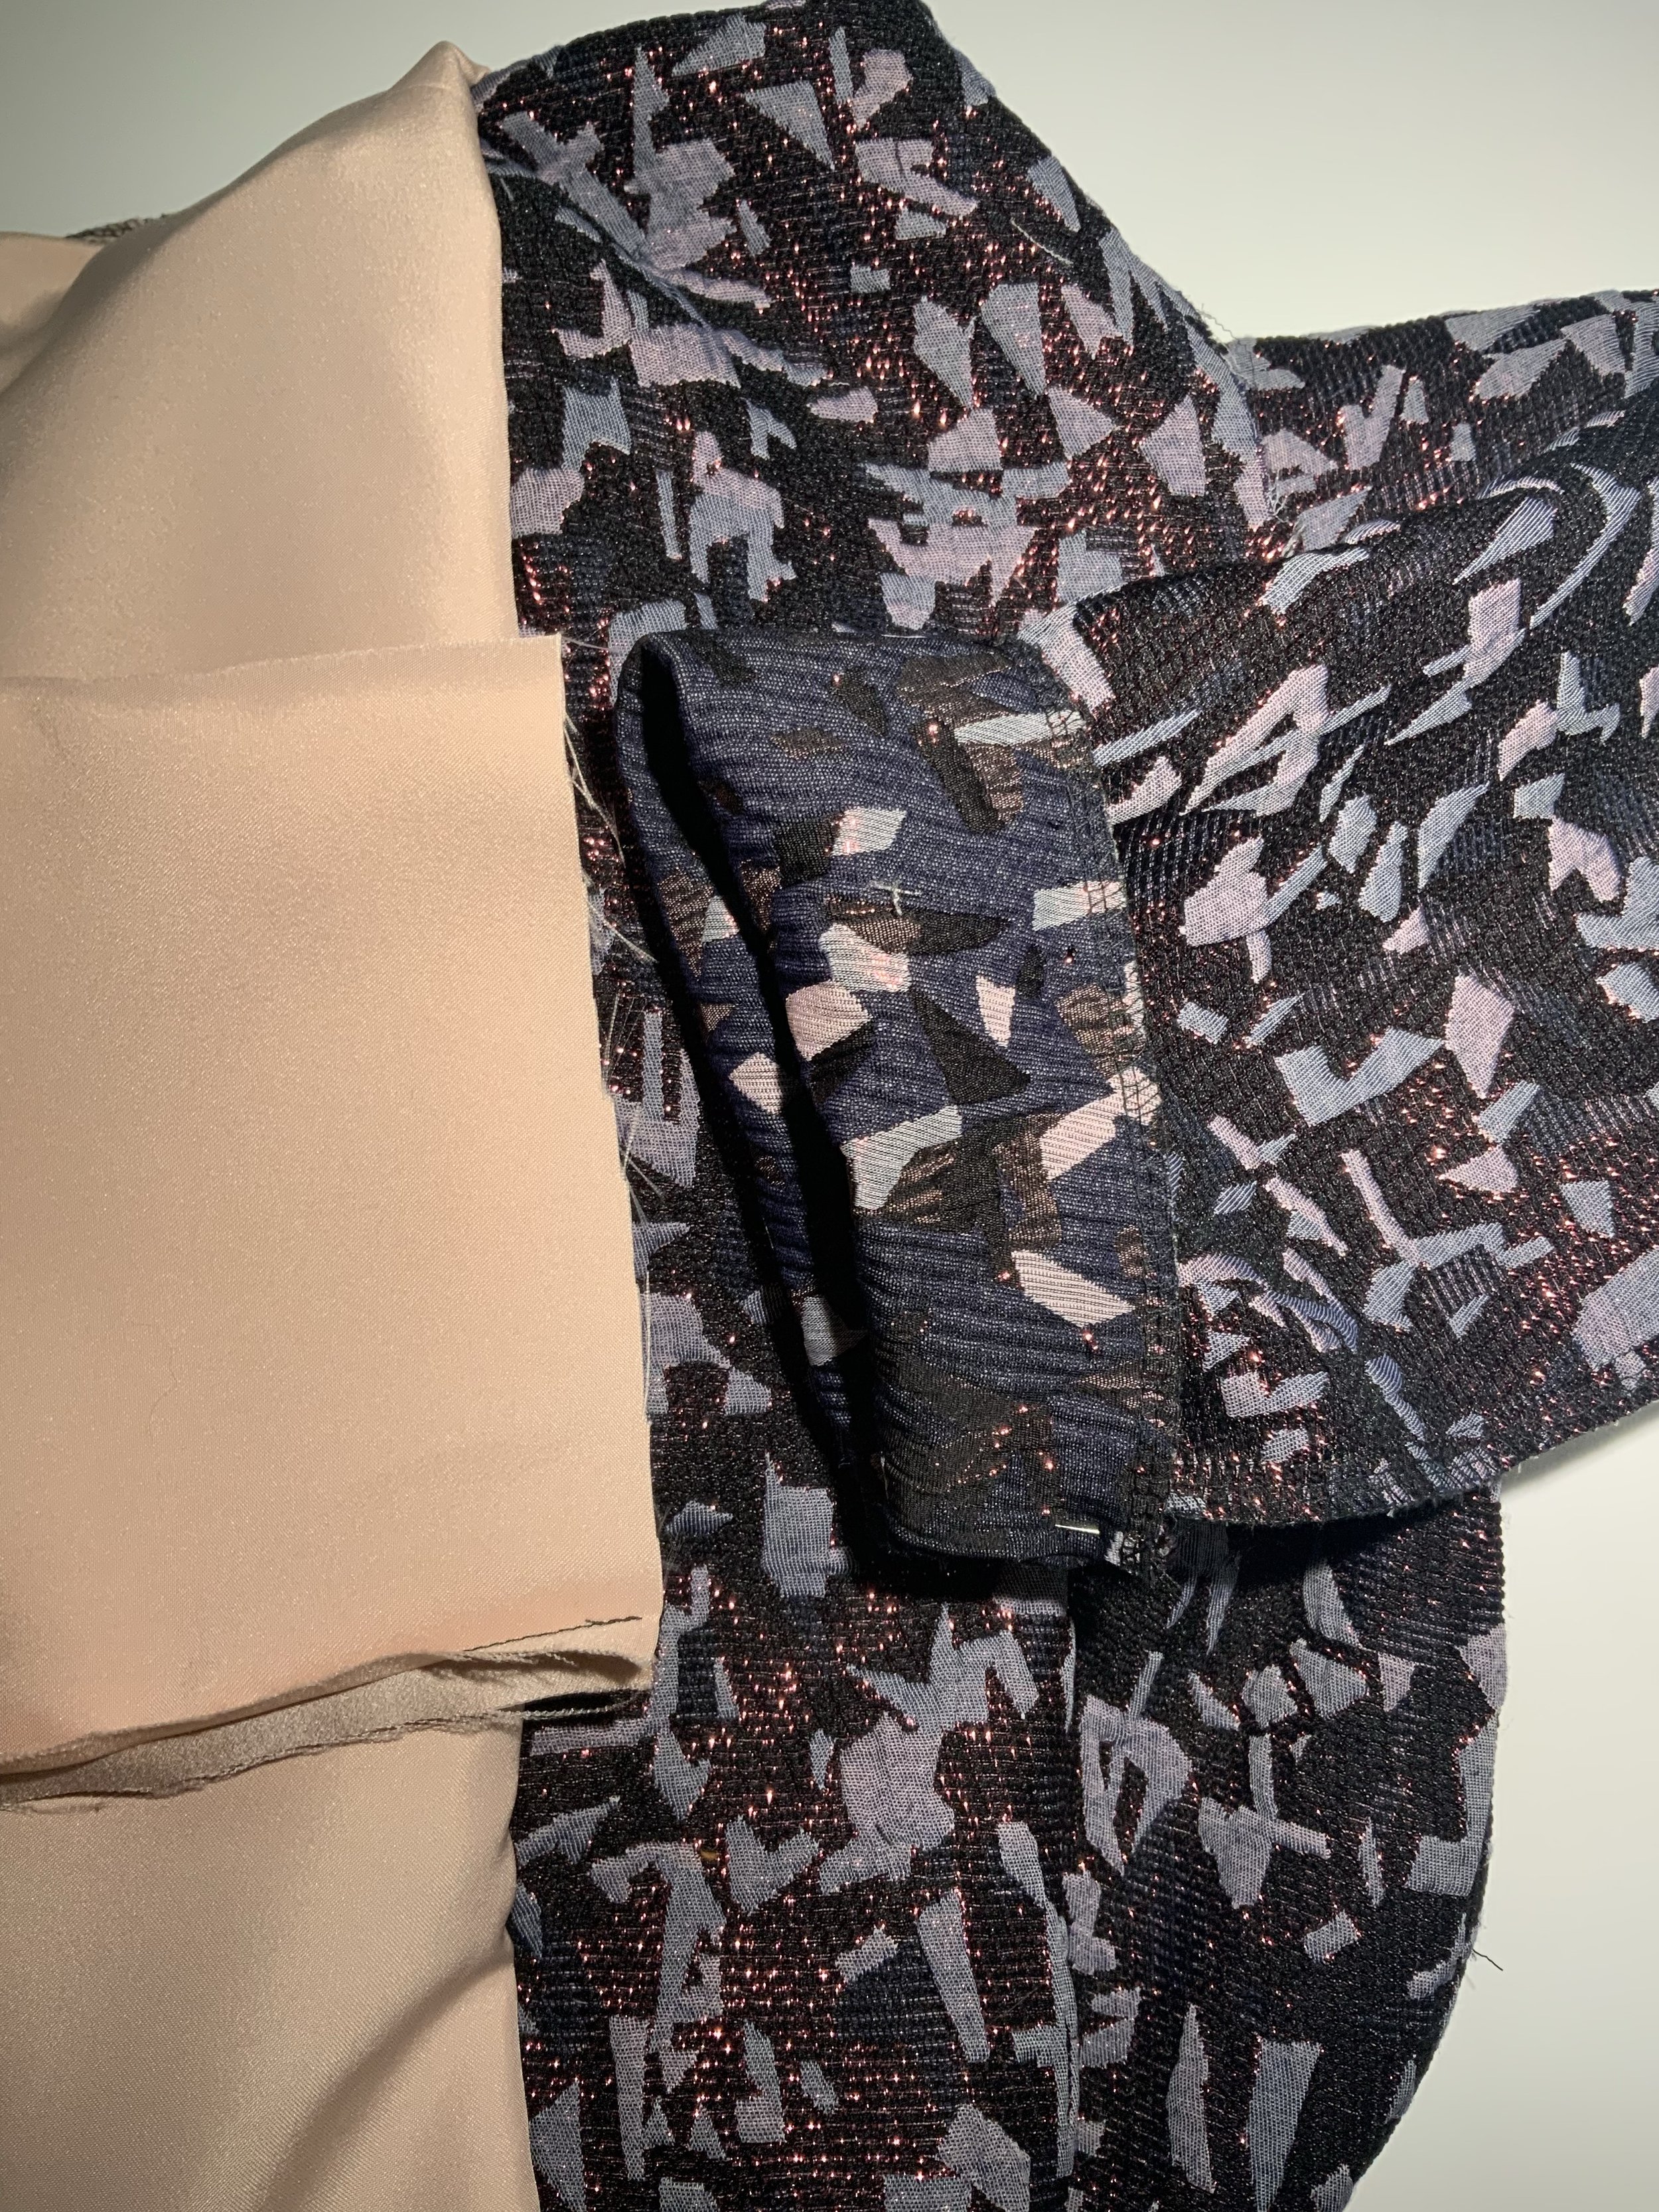
You basically lay down shell back piece ( with the fold already basted ) and use it as a guide to cut out your lining fabric for the back . Don’t forget the length of the lining piece needs to be shortened by 6 cm!If the fabric isn’t too thick for the fold you just continue by basting the fold onto your lining back piece. Follow the instructions for the preparation of the pattern pieces incl. basting the fold at the back. Throughout the process you can finish the seams with your preferred method, I like to overcast mine since these fabrics I’ve used fray a lot. Lay your outer and inner back piece left side together just as they would be in the jacket later. Place the yoke pieces right side onto the lining and the outer yoke piece right side onto the shell back piece.

Sew together with 1 cm seam allowance. We won’t be using the burrito method like stated in the original pattern instructions. Press the seam and topstitch the seam allowance to the back yoke of the shell. Sew the shoulder seam and side seams of shell and lining separately.

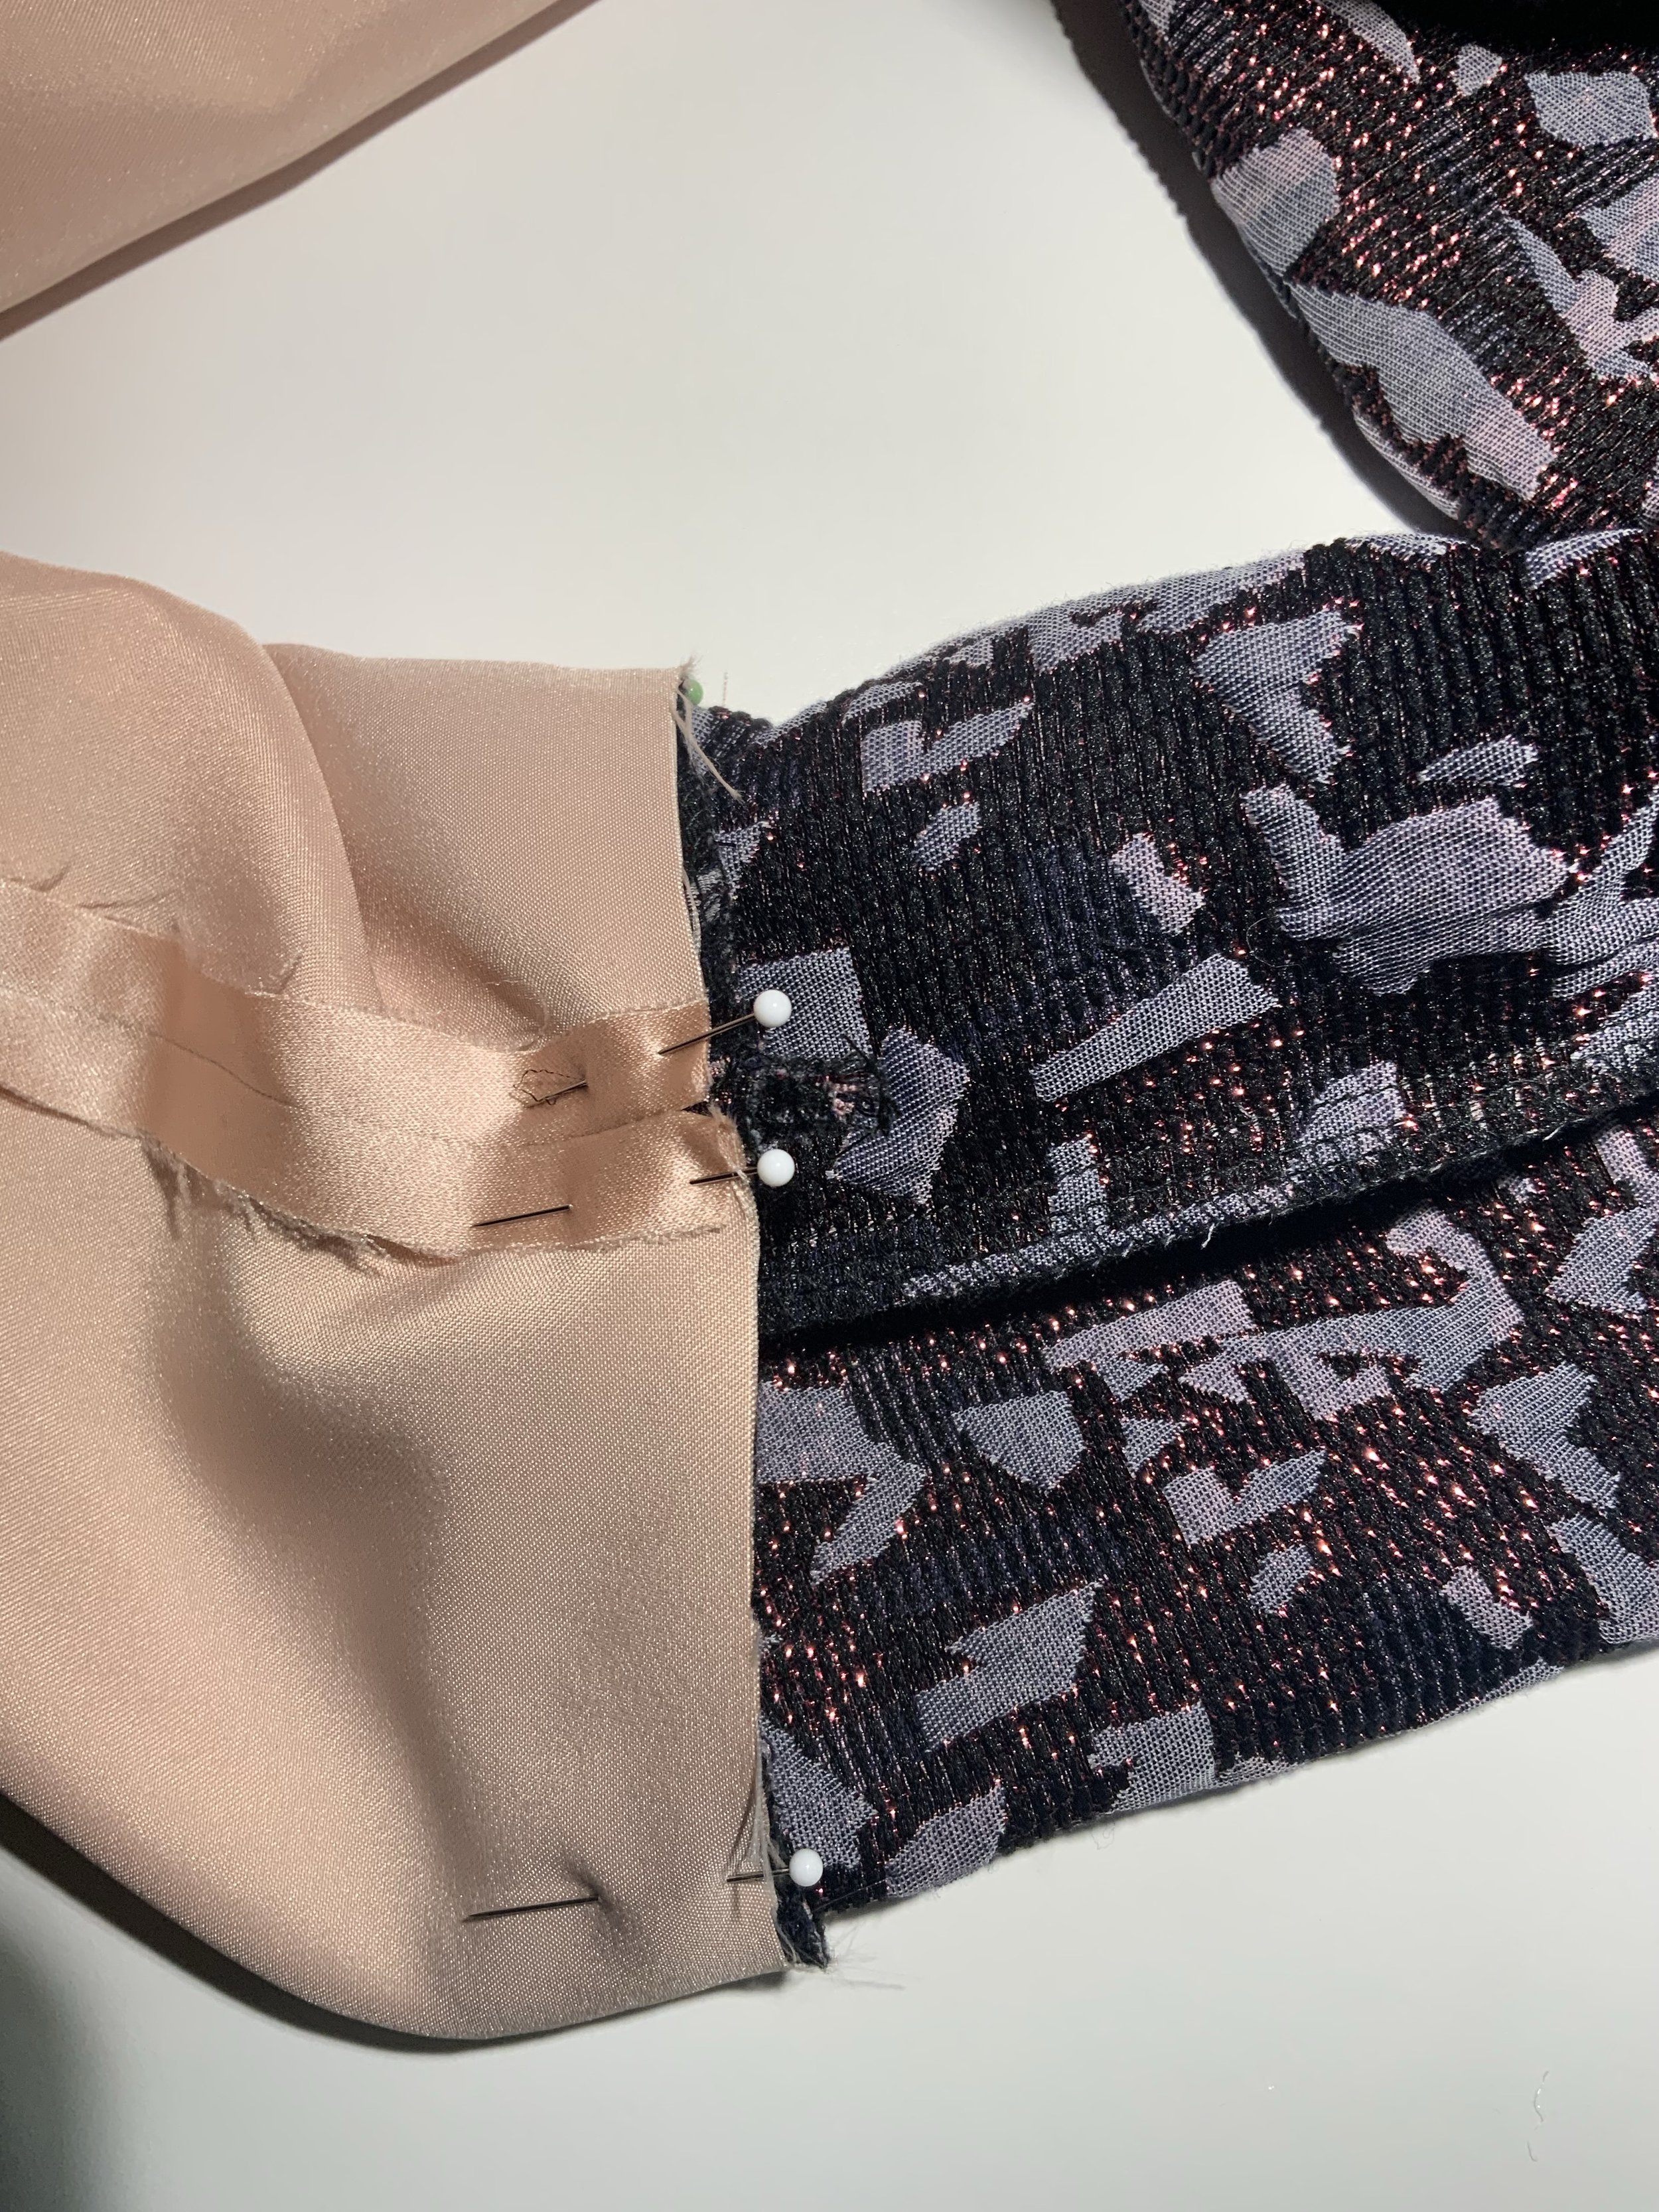
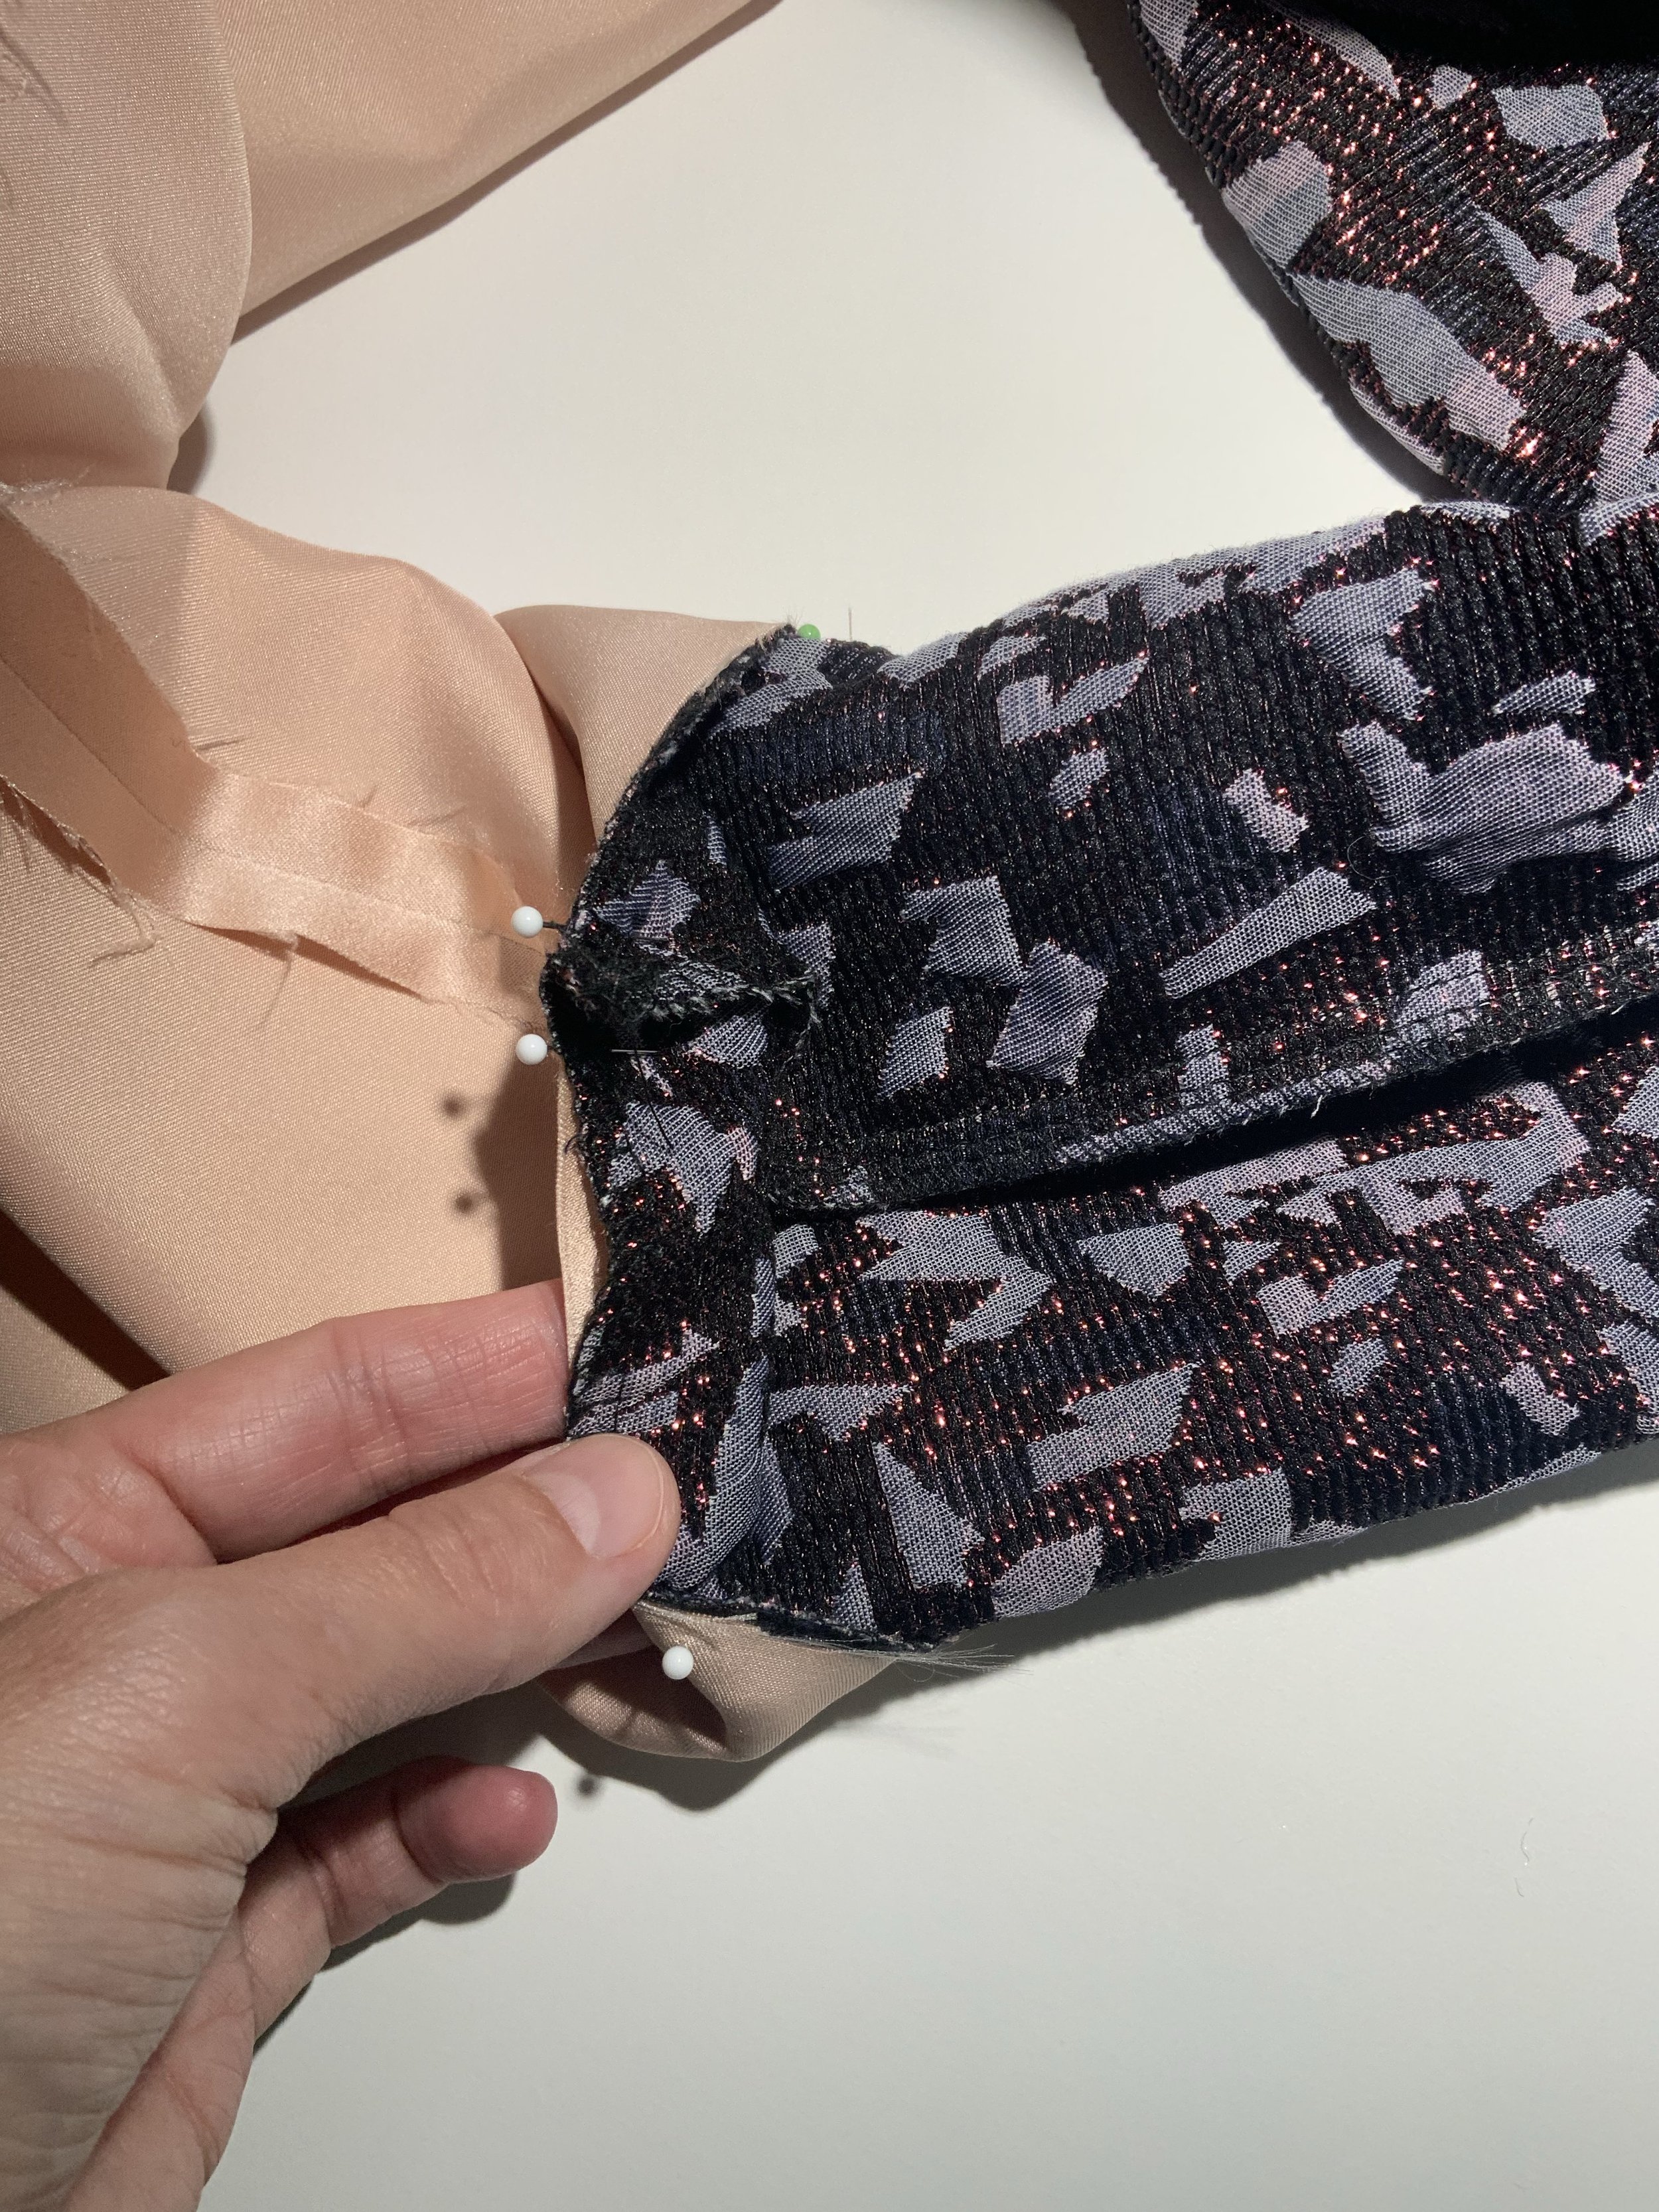
Press both shoulder and side seams to the back . Fold your shell over to meet the lining, left side together . The right side of the shell should face you. I recommend to baste your neckline and the armholes at this point to keep the fabrics in place. Sew the bottom seam by folding your lining over so the right sides of both fabric meet at the bottom seam. The left side of the lining is facing you.

Sew with 1 cm seam allowance. Turn over to the right side by pulling your jacket through one side. Press the seam allowance up and topstitch on the shell with a 3 cm seam allowance. Insert the sleeves into the armholes and finish the seam with your preferred method. You can also add a strip of bias tape for a neater look. Now you finish off your jacket by following the instructions for the front plackets, collar and sleeves and you're all done !

Fully lined jacket
To start with, you need to adjust the following pattern pieces for the lining: Back - take off 6 cm of the length at the bottom, the 1 cm seam allowance will be still included.
Front lining pattern pieces :
View A cropped version use the upper front pattern piece and take off 1 cm.
View B long version add 8 cm to the length of the upper front pattern piece.
The easiest & safest way to determine the length of the front lining pieces is to finish the outer front pieces first with pockets attached , place them on top of the lining fabric or tracing paper , trace and subtract the 6 cm ( on the lining fabric or paper only) at the bottom for the seam. As mentioned before the 1 cm seam allowance will be still included for attaching outer fabric to the facing .
If you go for the boxy sleeve in view B you need to adjust the length of your sleeve pattern piece for the lining by taking off a total of 7 cm, which still leaves a seam allowance of 1 cm.

No adjustment are required for the cuffed sleeves, the seams of both shell and lining are hidden in the cuffs. For the Lining cut 2 sleeves, 1 pair of front, 1 back and 1 pair of pocket lining. Follow the instructions for the preparation of the pattern pieces incl. basting the fold at the back. Sew the back piece to the yoke for Shell & lining separately - you don’t use the burrito method like stated in the original pattern instructions. Topstitch the seam allowance to the yoke for the shell. Sew the shoulder & side seams for your shell and lining separately. Leave a gap of ca. 15 cm on one side of the lining.

Next you prepare your sleeves and sew them into the armholes. Again shell and lining separately. Place your inner jacket (lining) into the the shell left sides together, so the right side of the lining will be facing you. I recommend basting the neckline to keep the fabrics in place. Sew the bottom seam by folding the lower part of the lining over the shell. Place lining and shell right side together along the whole bottom seam, the left side of the lining should be facing you. Stitch together with 1cm seam allowance. Finish the seam and pull out the jacket through one side. Press the seam towards the top and topstitch with 3 cm seam allowance. Baste the front seam to keep fabrics in place. Continue following the pattern instructions for the 2 front plackets & collar. To finish the sleeves turn your jacket inside out so the front seams are facing you. Pull your lining to one side and your shell to the other with wrong sides out. Fold your sleeves in to the center to meet each other, be careful not to twist the sleeves. Fold over the shell sleeve so right side is facing. Slip over the lining over the outer sleeve hem, match seams and stitch the sleeves together with right side together and a seam allowance of 1 cm.
Repeat for the other side and finish the seam allowance. Carefully turn your jacket right side out through the gap in the side seam and press the seams of the sleeves. Topstitch with a 3 cm seam allowance. To keep the lining of the sleeves in place you can add a few stitches in the ditch at the underarm seam by hand. Close the gap in the side seam with a slip stitch & you’re all done!
