
How to sew a ruffled Cushion Cover
As many of you know, we just moved into our new home. I had the urge to sew something for our new home and I saw these ruffled gingham cushion covers all over my Pinterest. When I saw this baby blue Merchant and Mills gingham linen for 50% off in the city, I knew what I would do on the coming weekend.
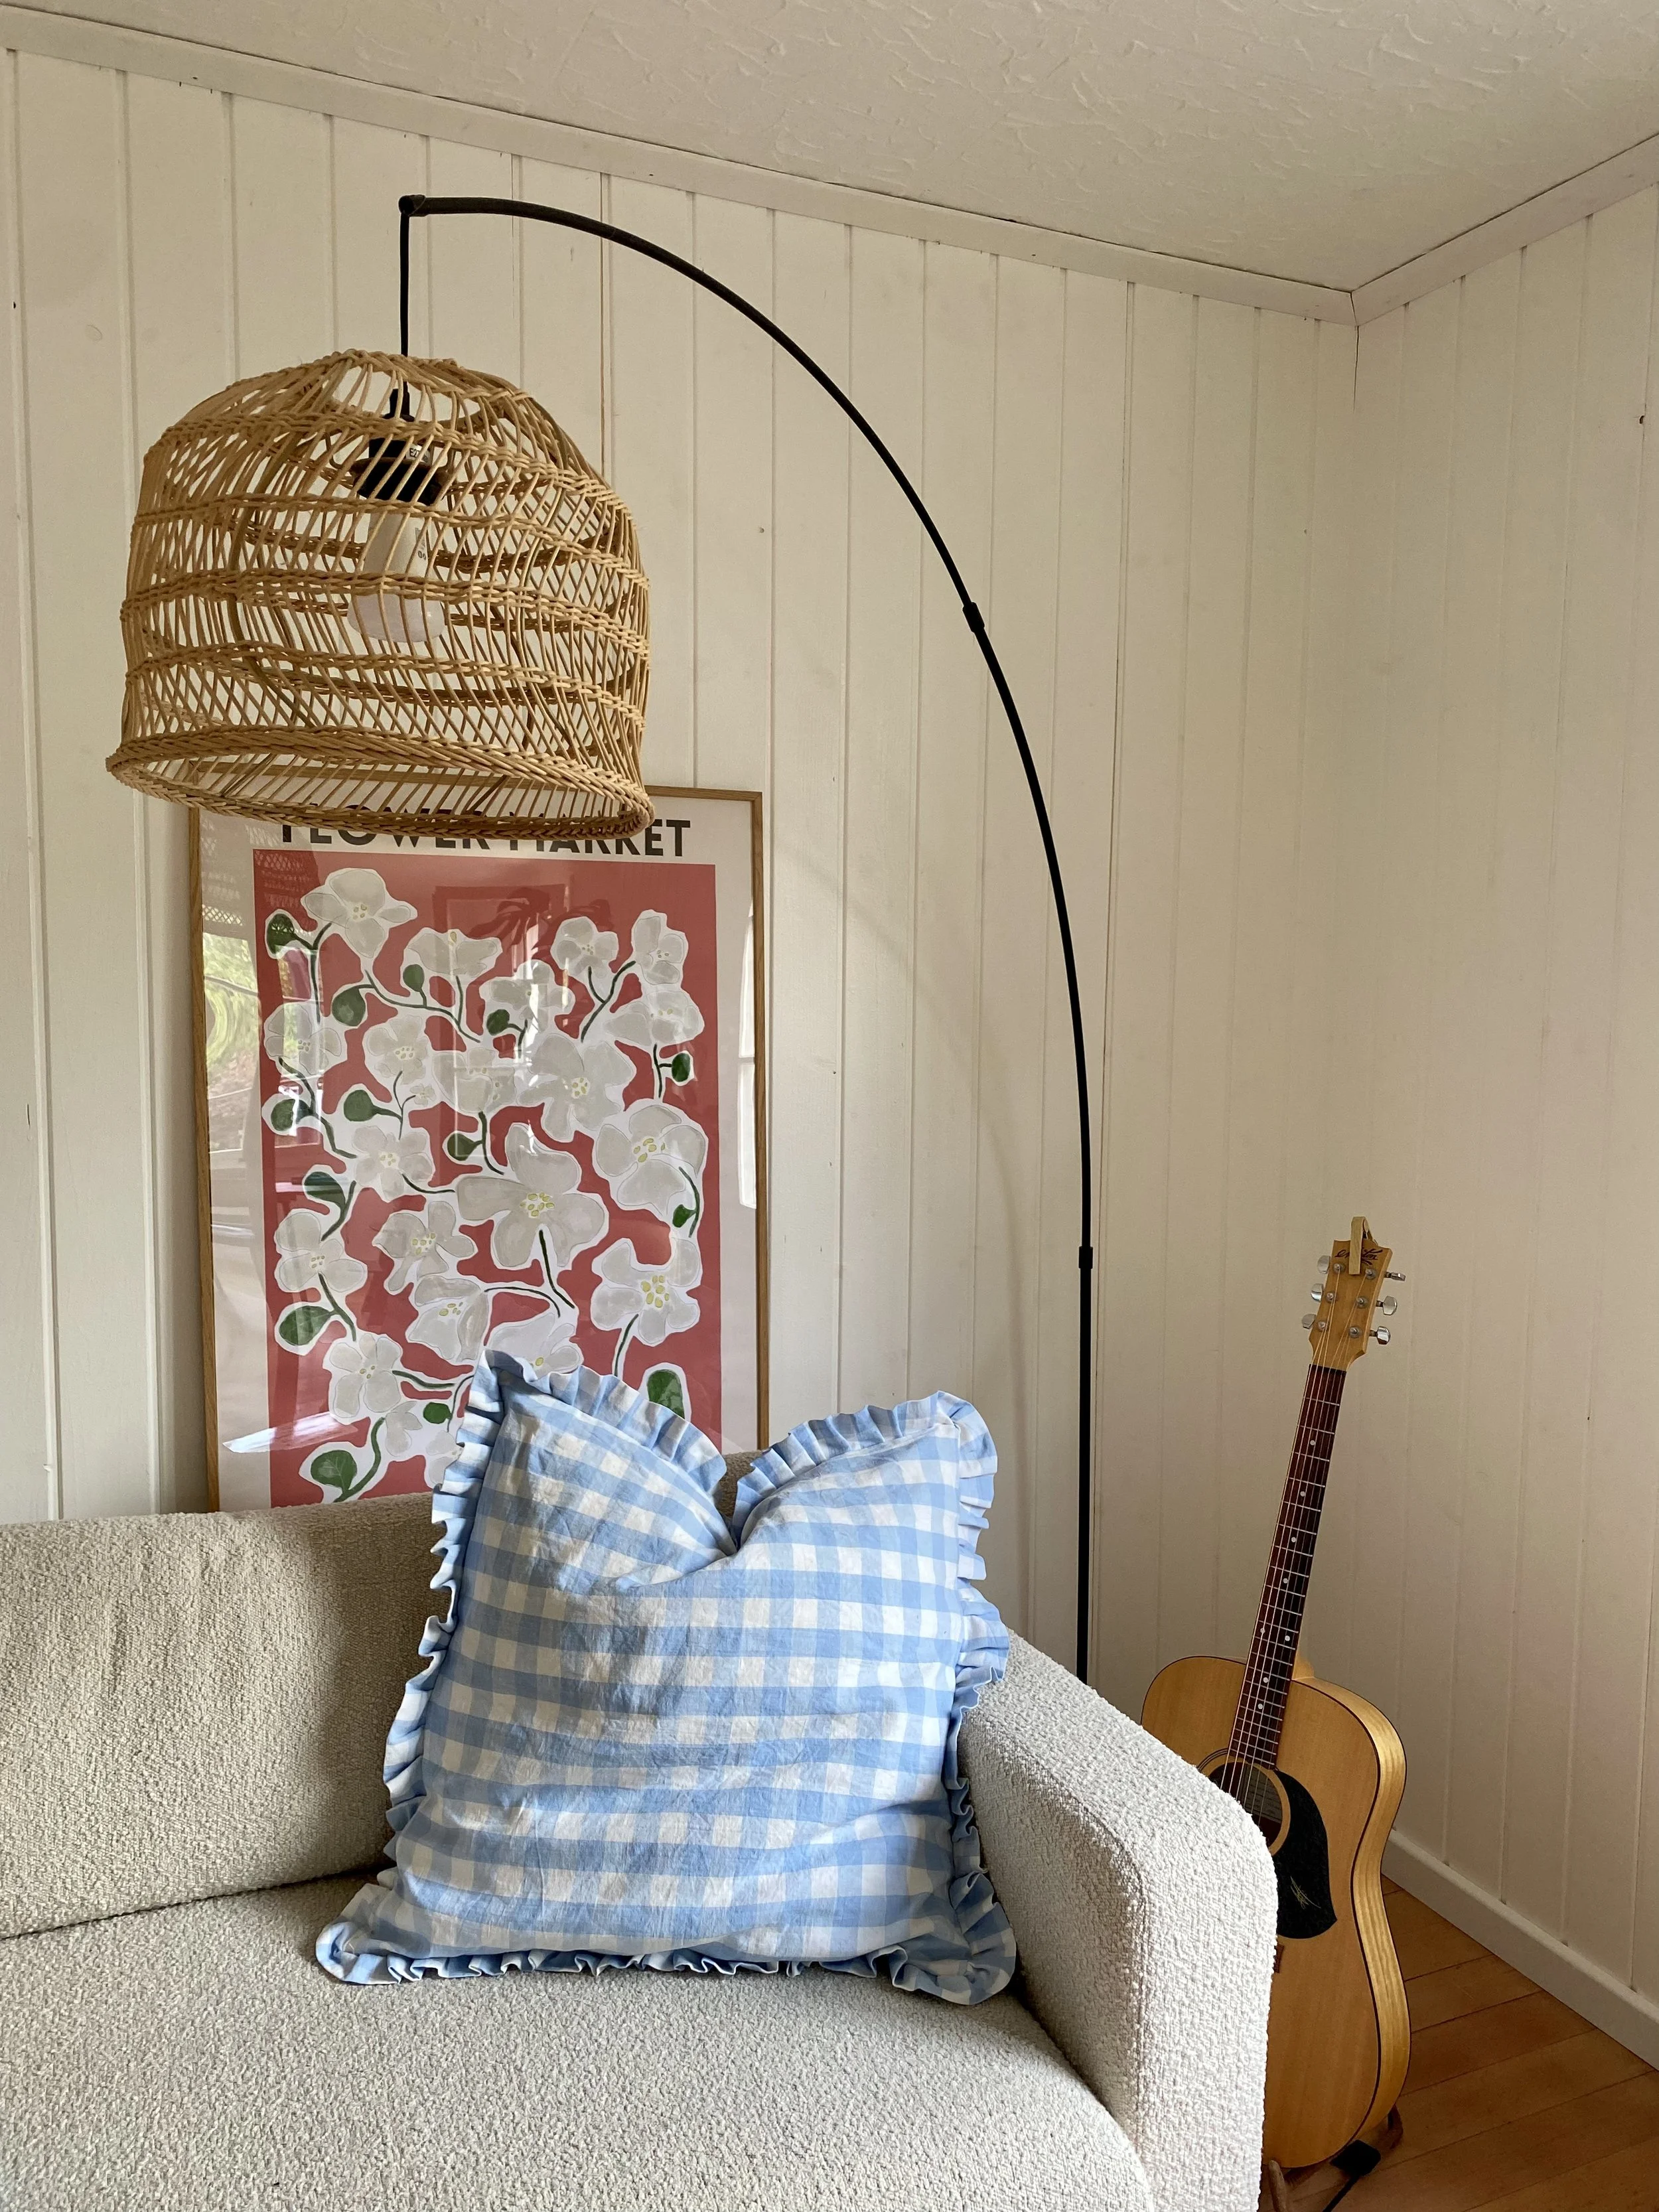
So here is a little tutorial for you if you’d like to sew similar frilly cushion covers.
First, buy your fabric. I made a cover for a 65cm x 65cm / 26” x 26” IKEA feather cushion. I bought 1m / 1.09 yards of 150cm / 59” wide linen and that was just enough. I cut out the following rectangles and squares from my fabric:
Front Cushion Cover: One square of 67cm x 67cm / 26.5” x 26.5”
Back Cushion Cover: Two rectangles of 67cm x 41.5cm / 26.5” x 16.5”
Ruffle: Tree rectangles of 10cm x 150cm / 4” x 59”
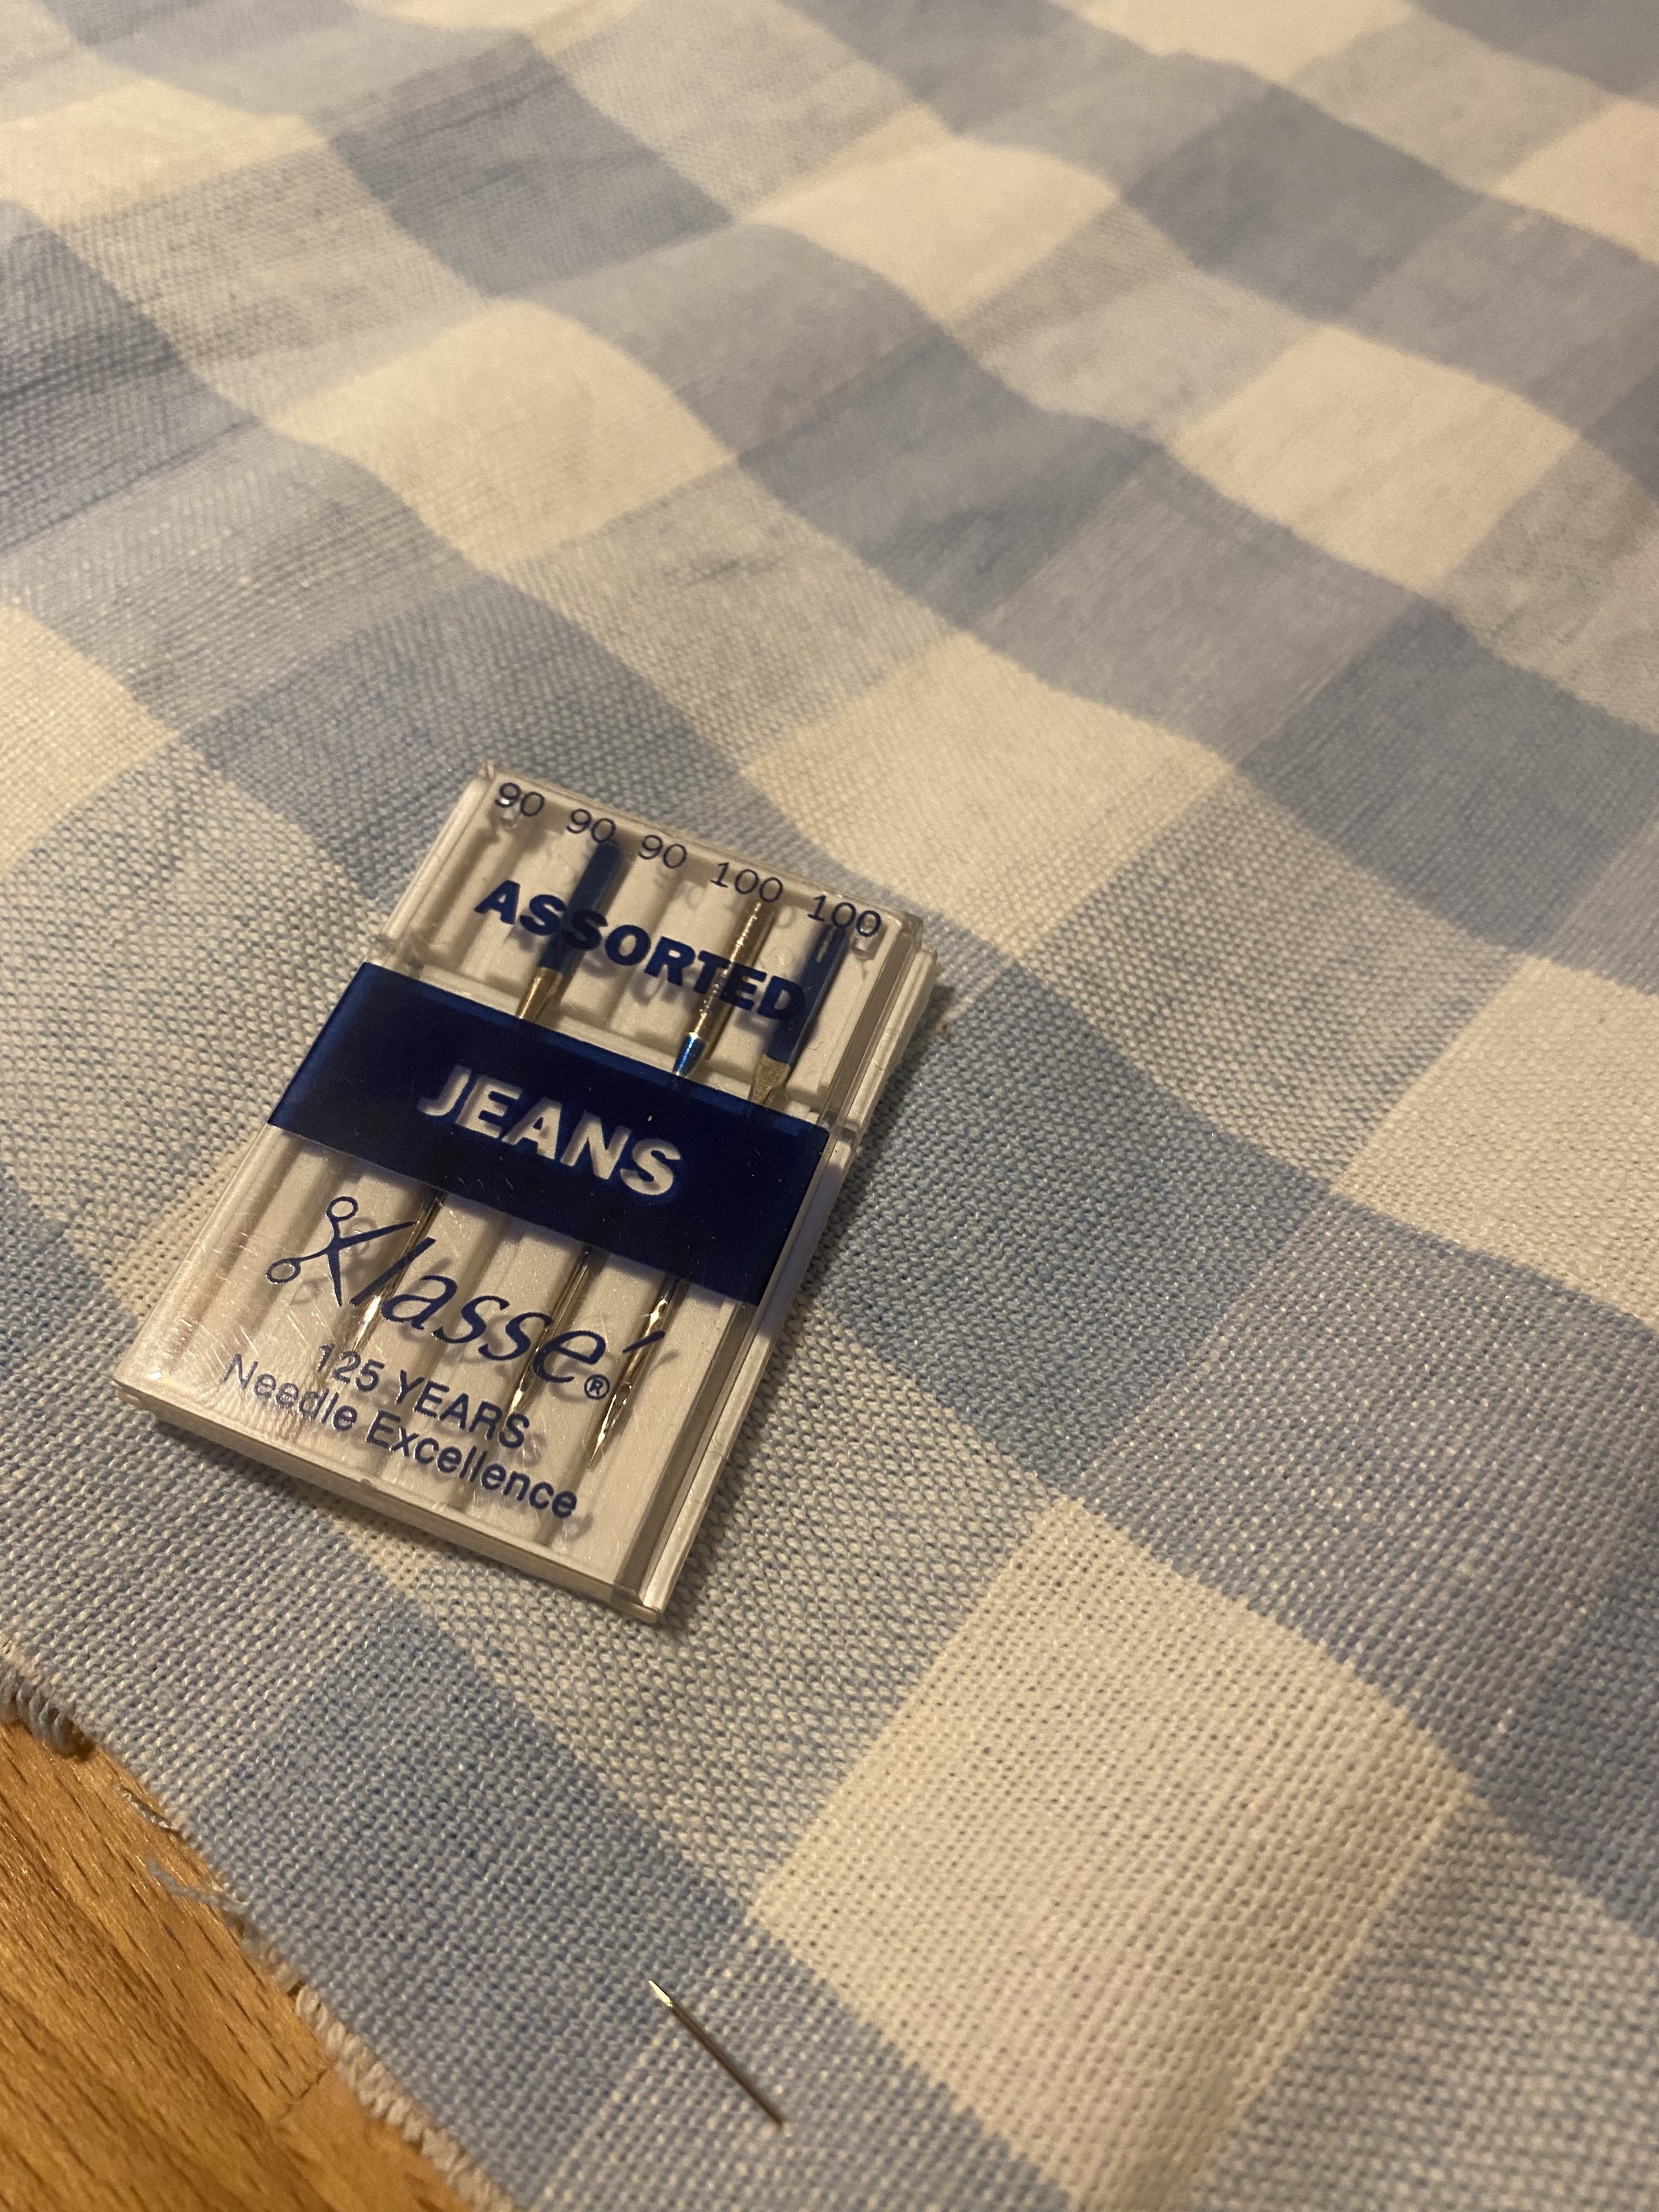
As my linen was pretty heavy weight, I used strong jeans needles on my sewing machine for the entire project.
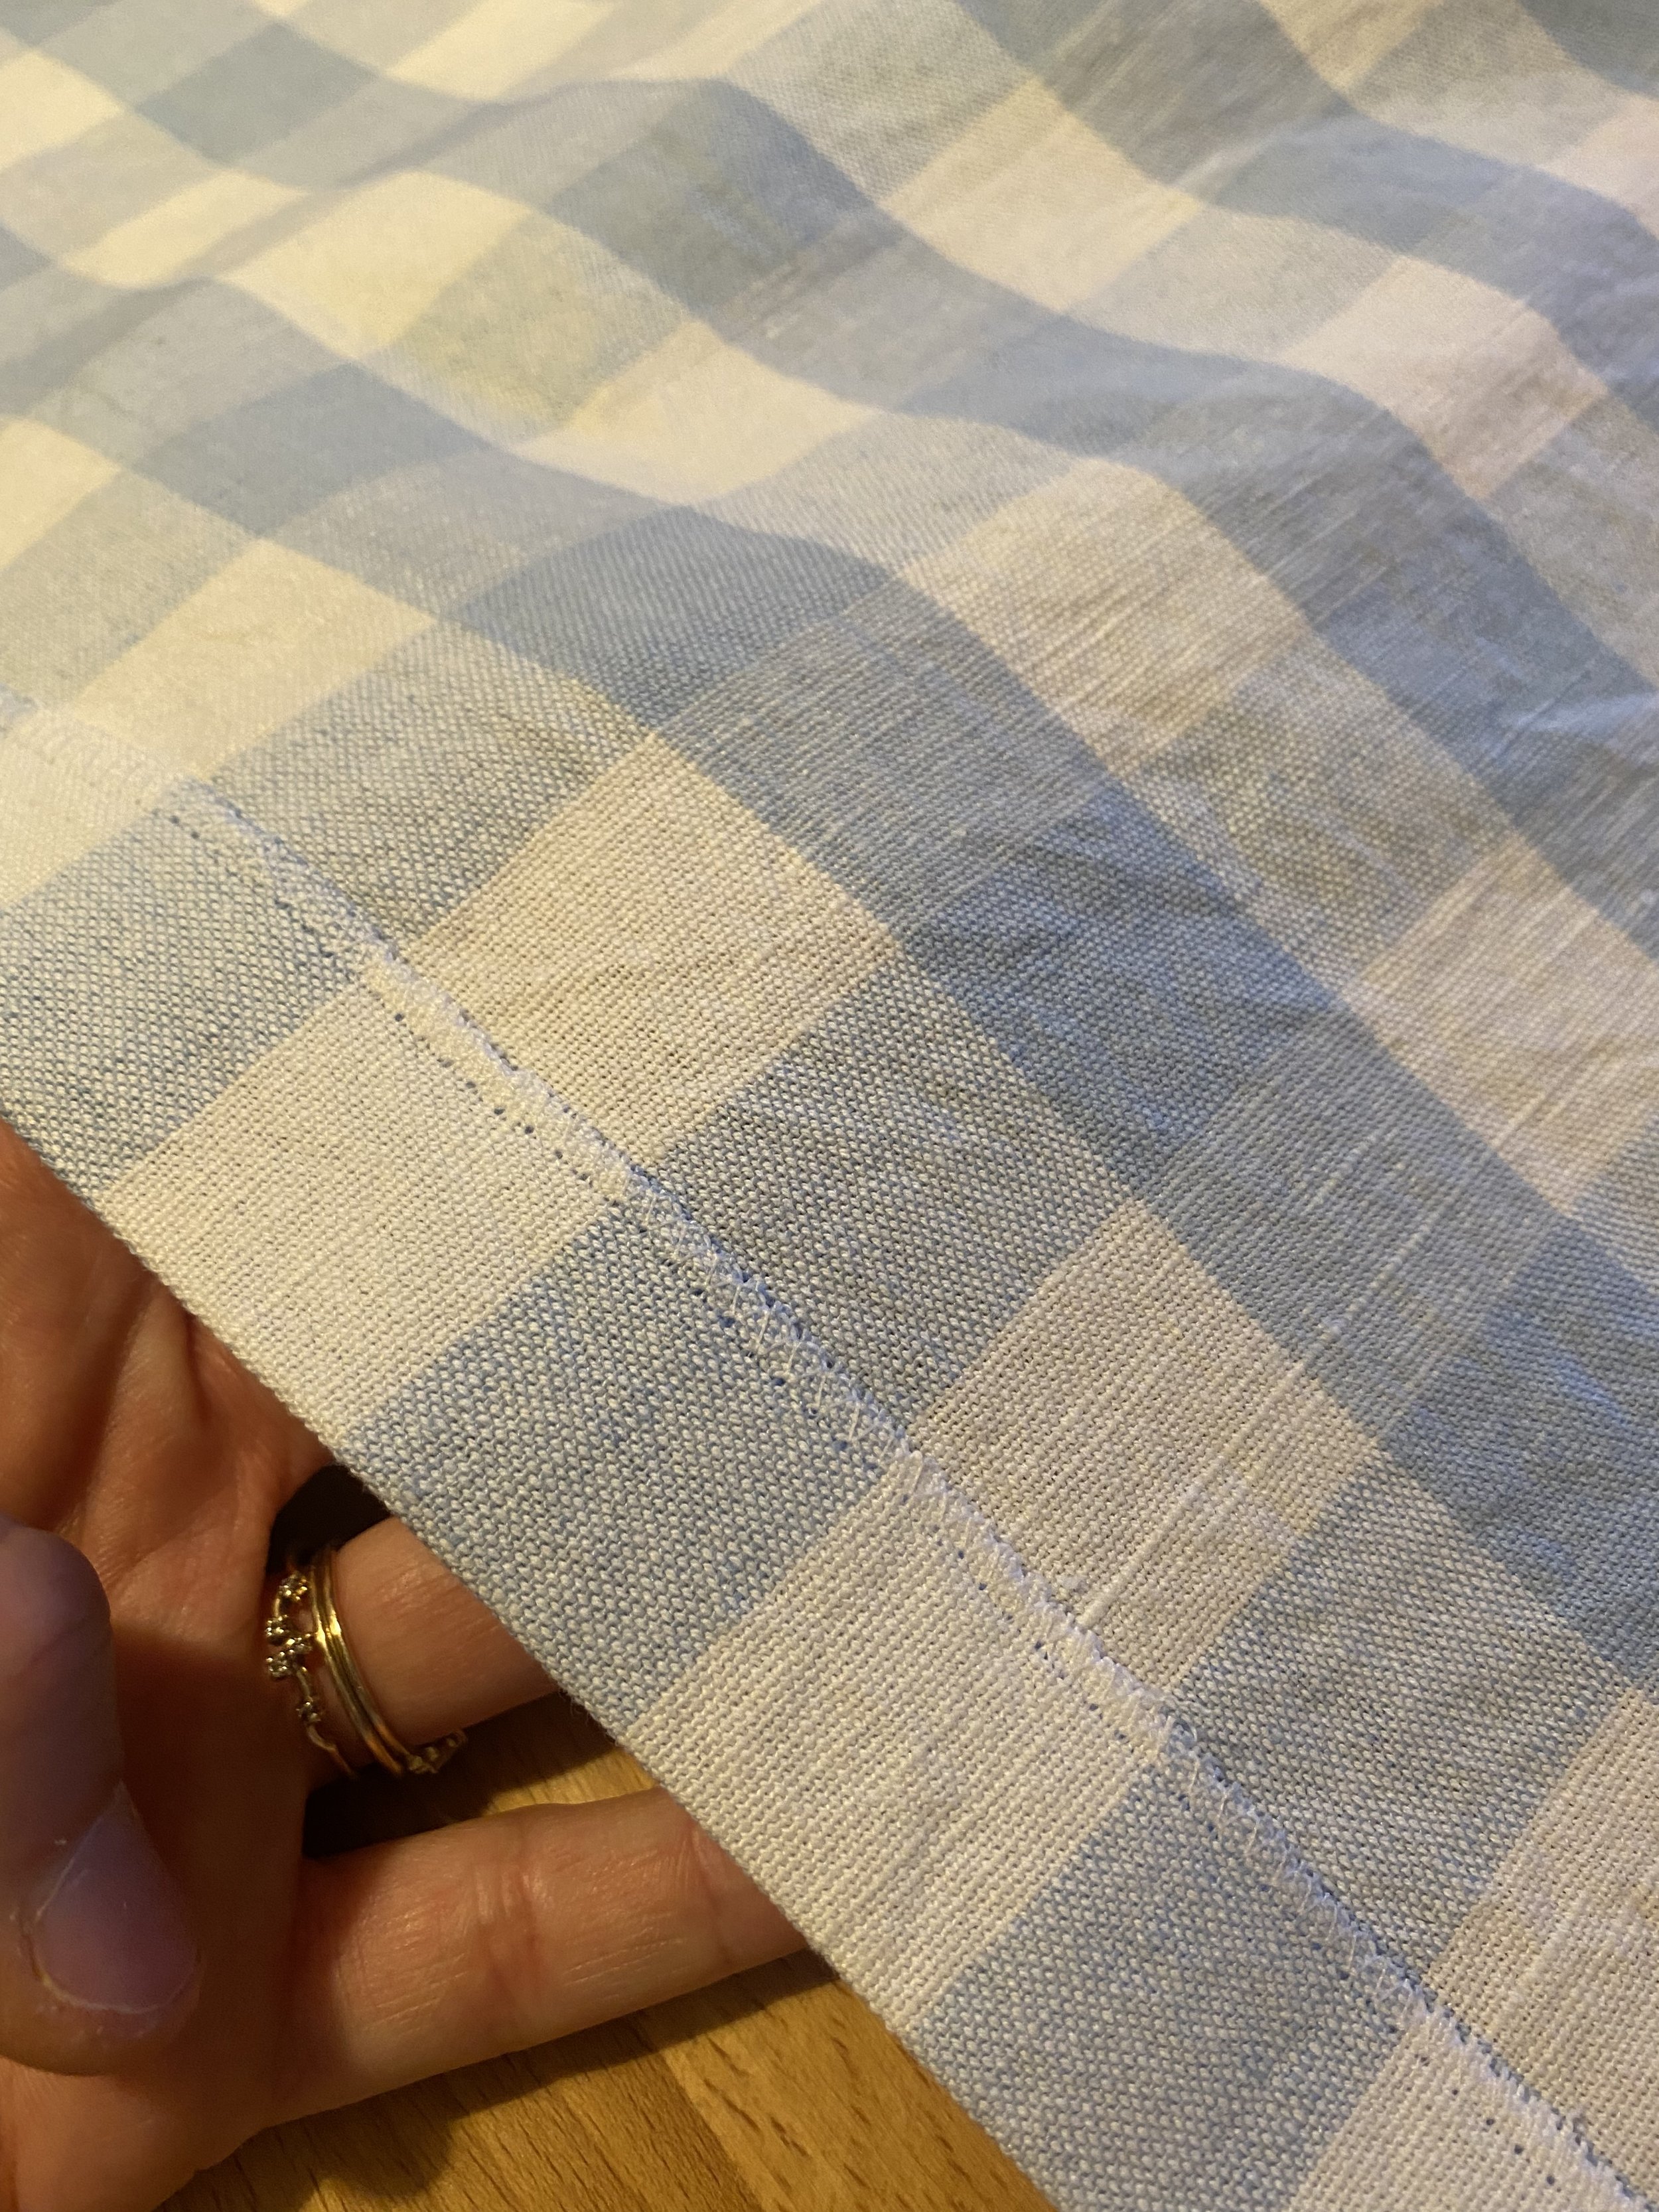
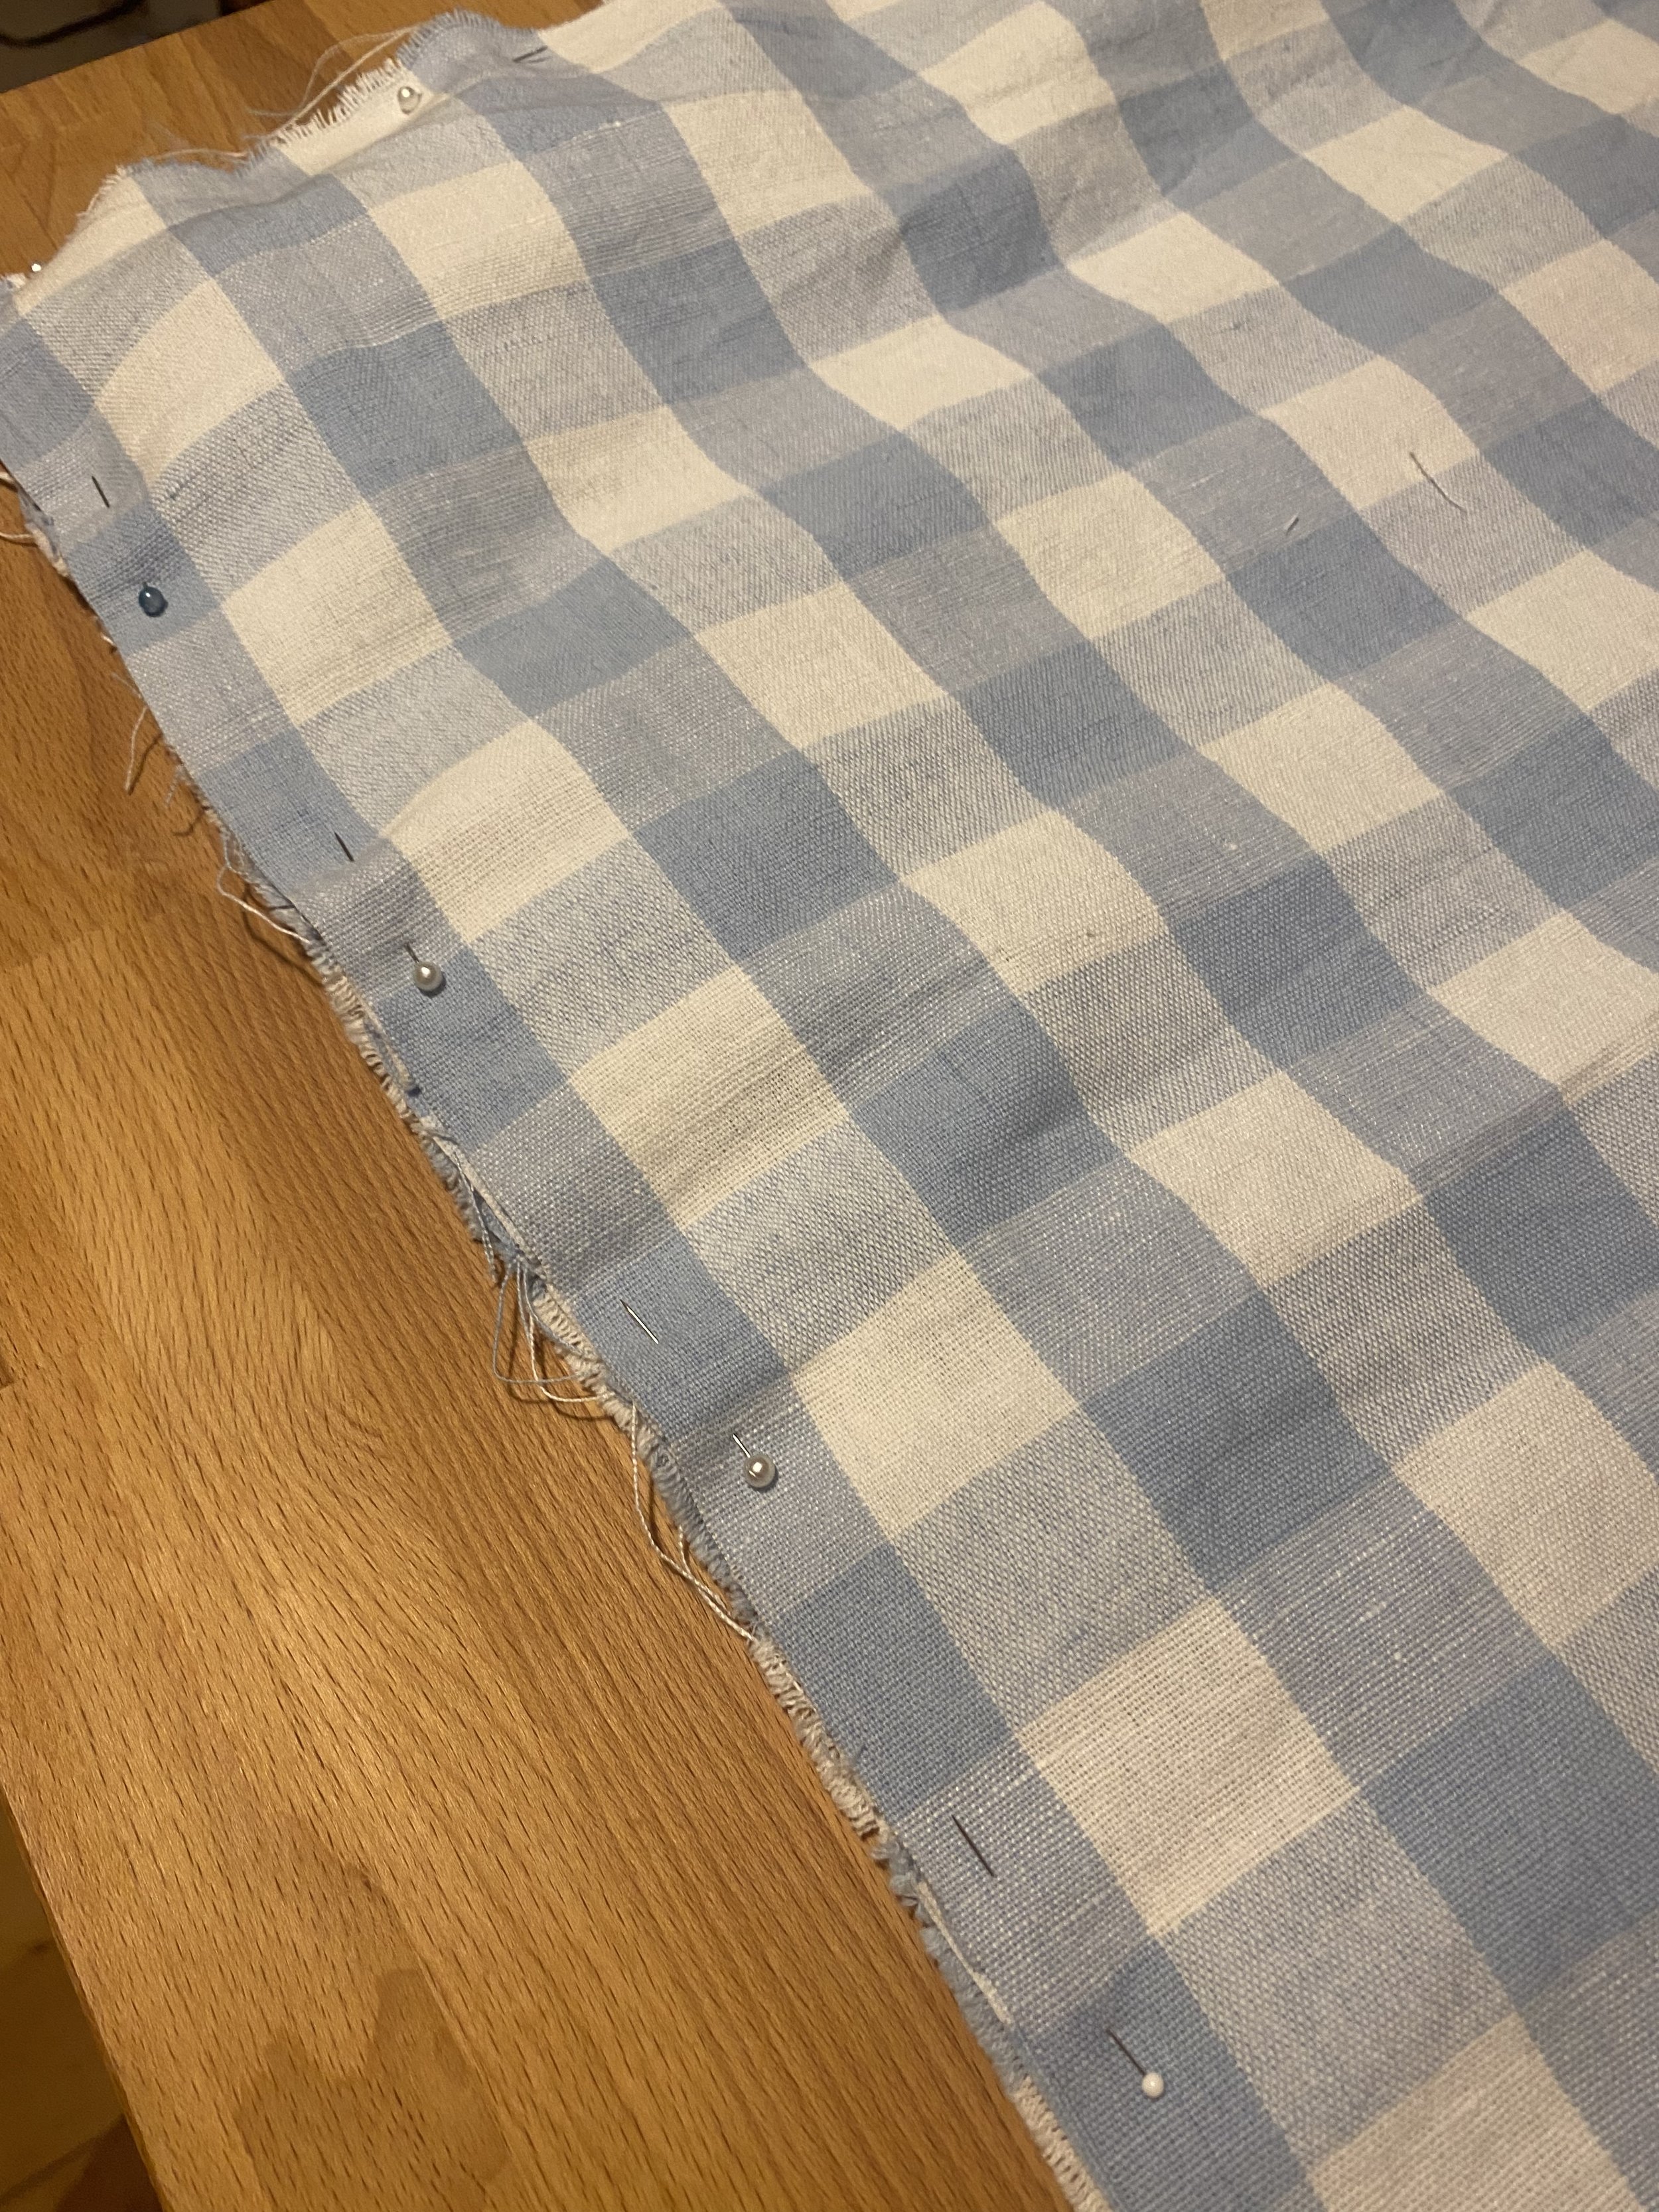
I wanted three big buttons on the back of the cushion cover. I finished one long edge of both back pattern pieces with a zigzag stitch and folded it under by 4.5cm / 2”. I sewed it down with a straight stitch and then sewed the buttonholes and buttons. My two back pattern pieces overlapped by about 4.5cm once it was all done.

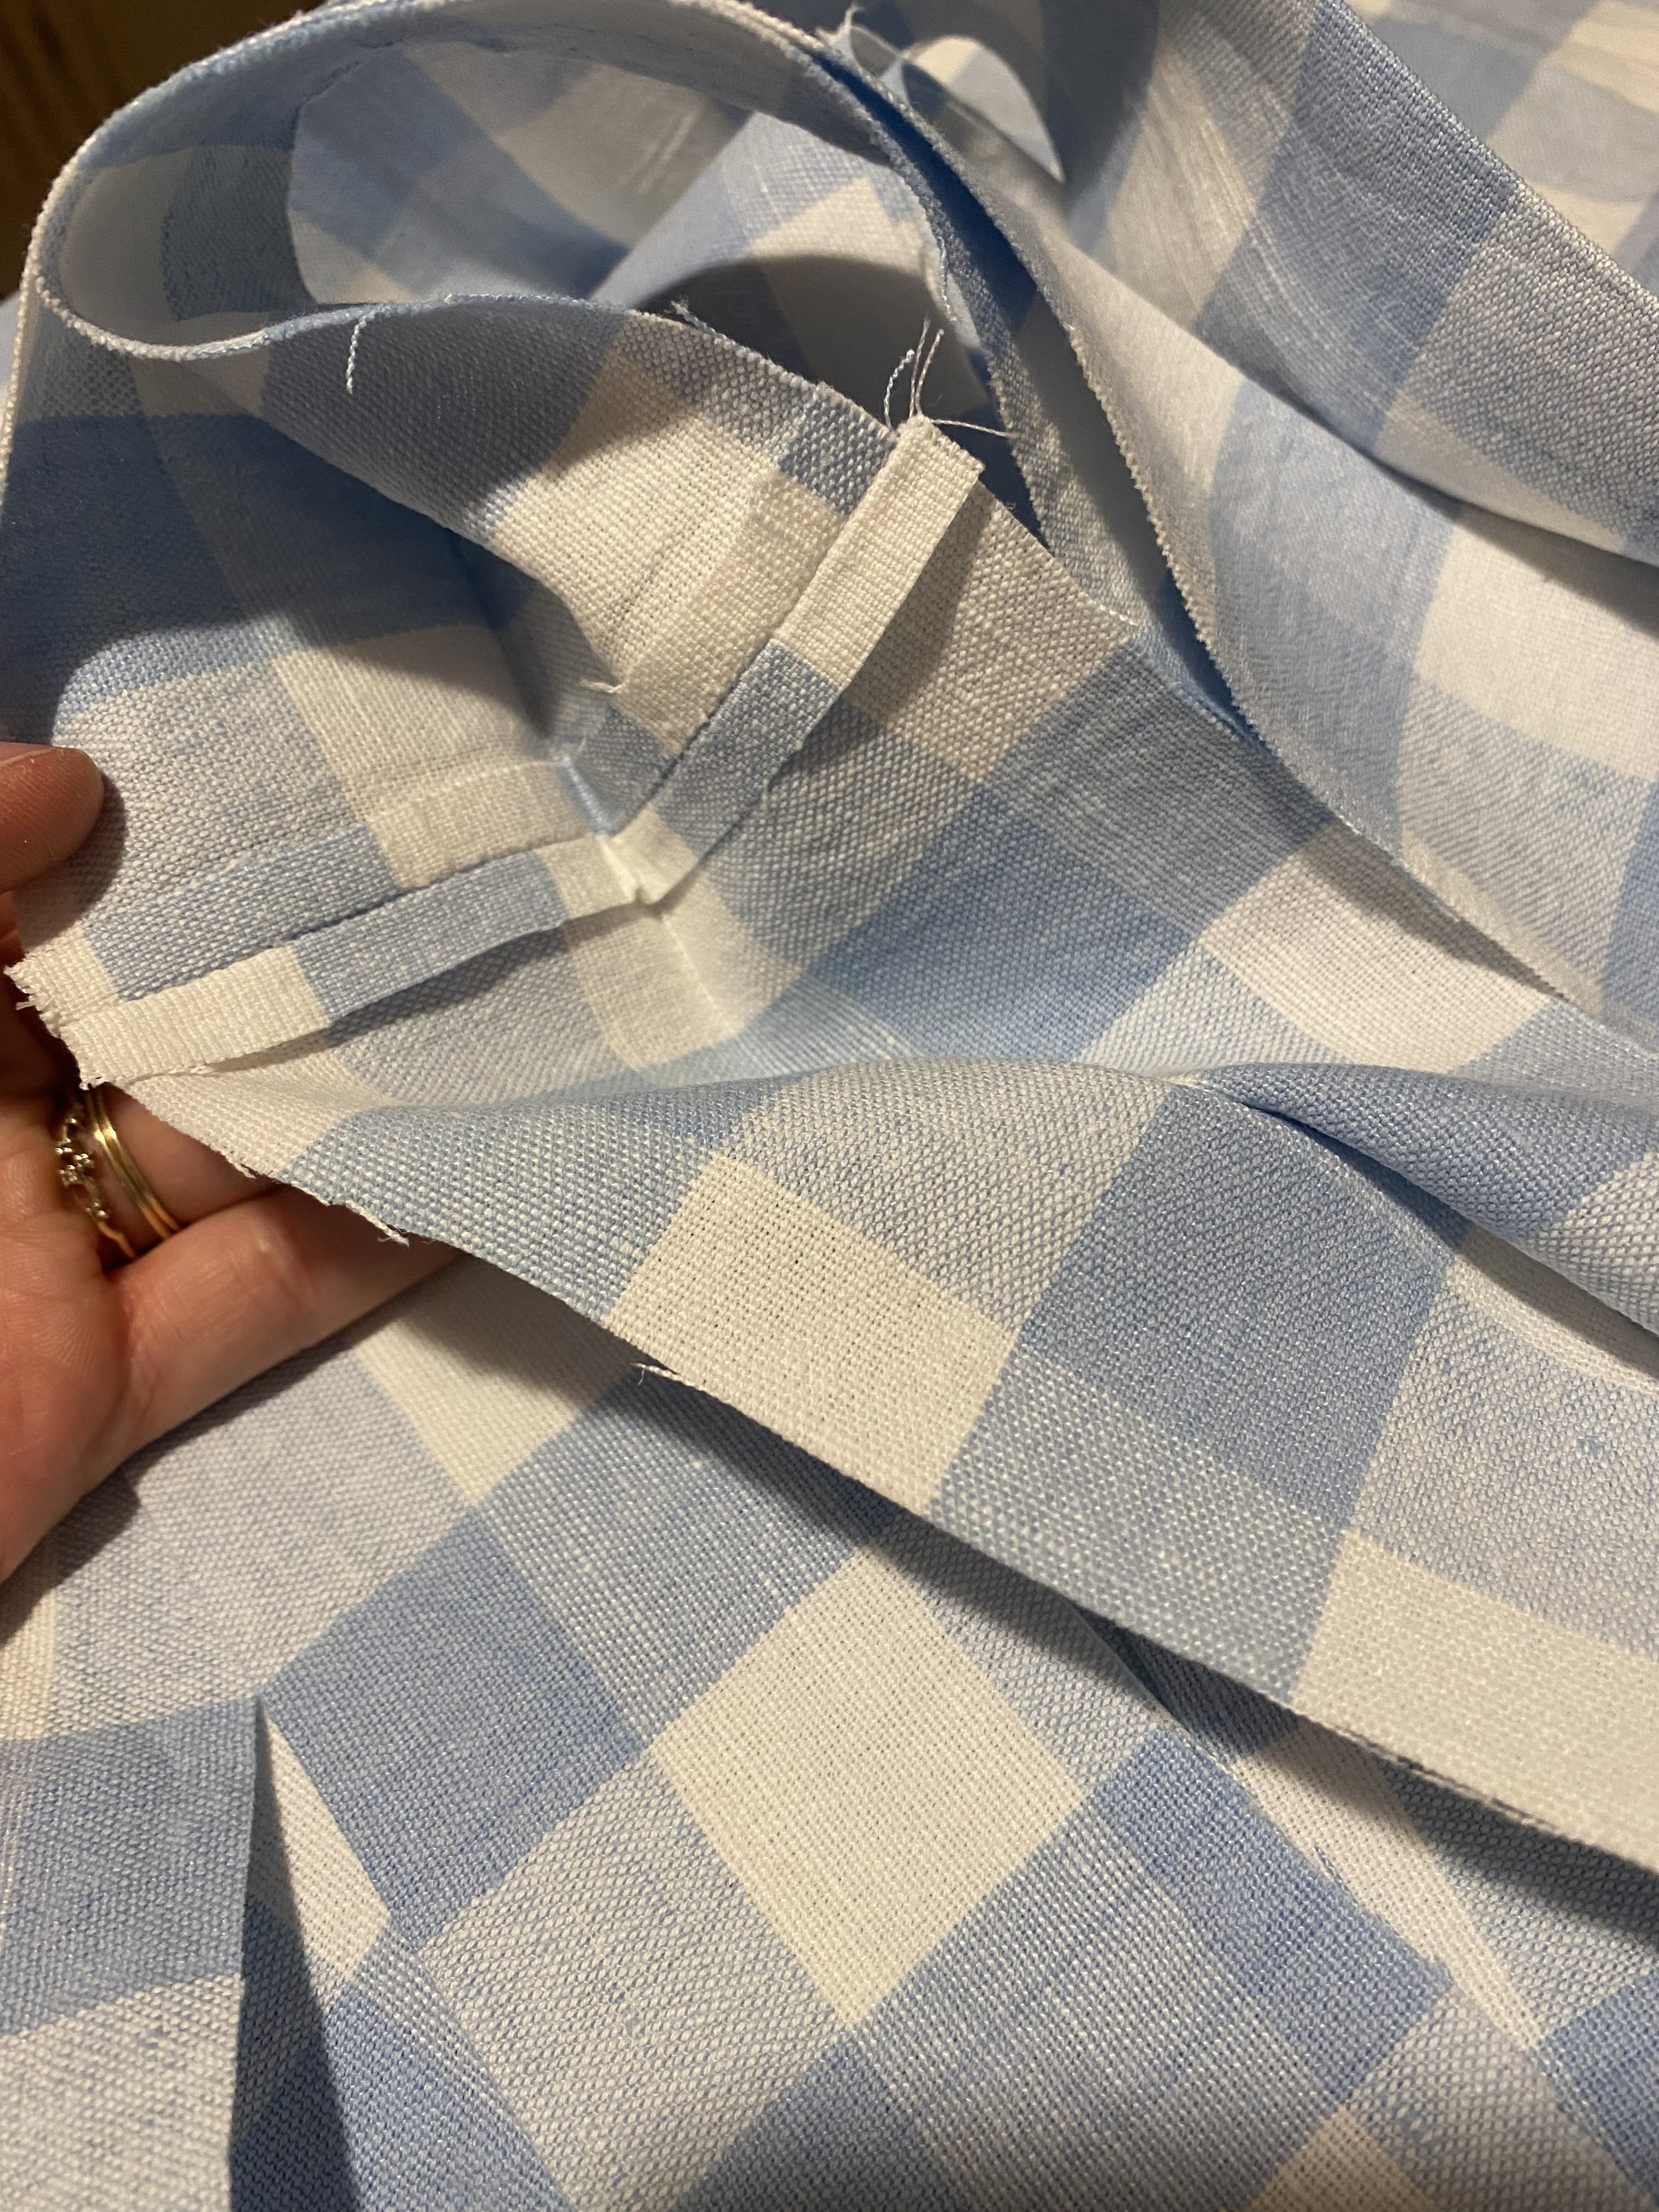
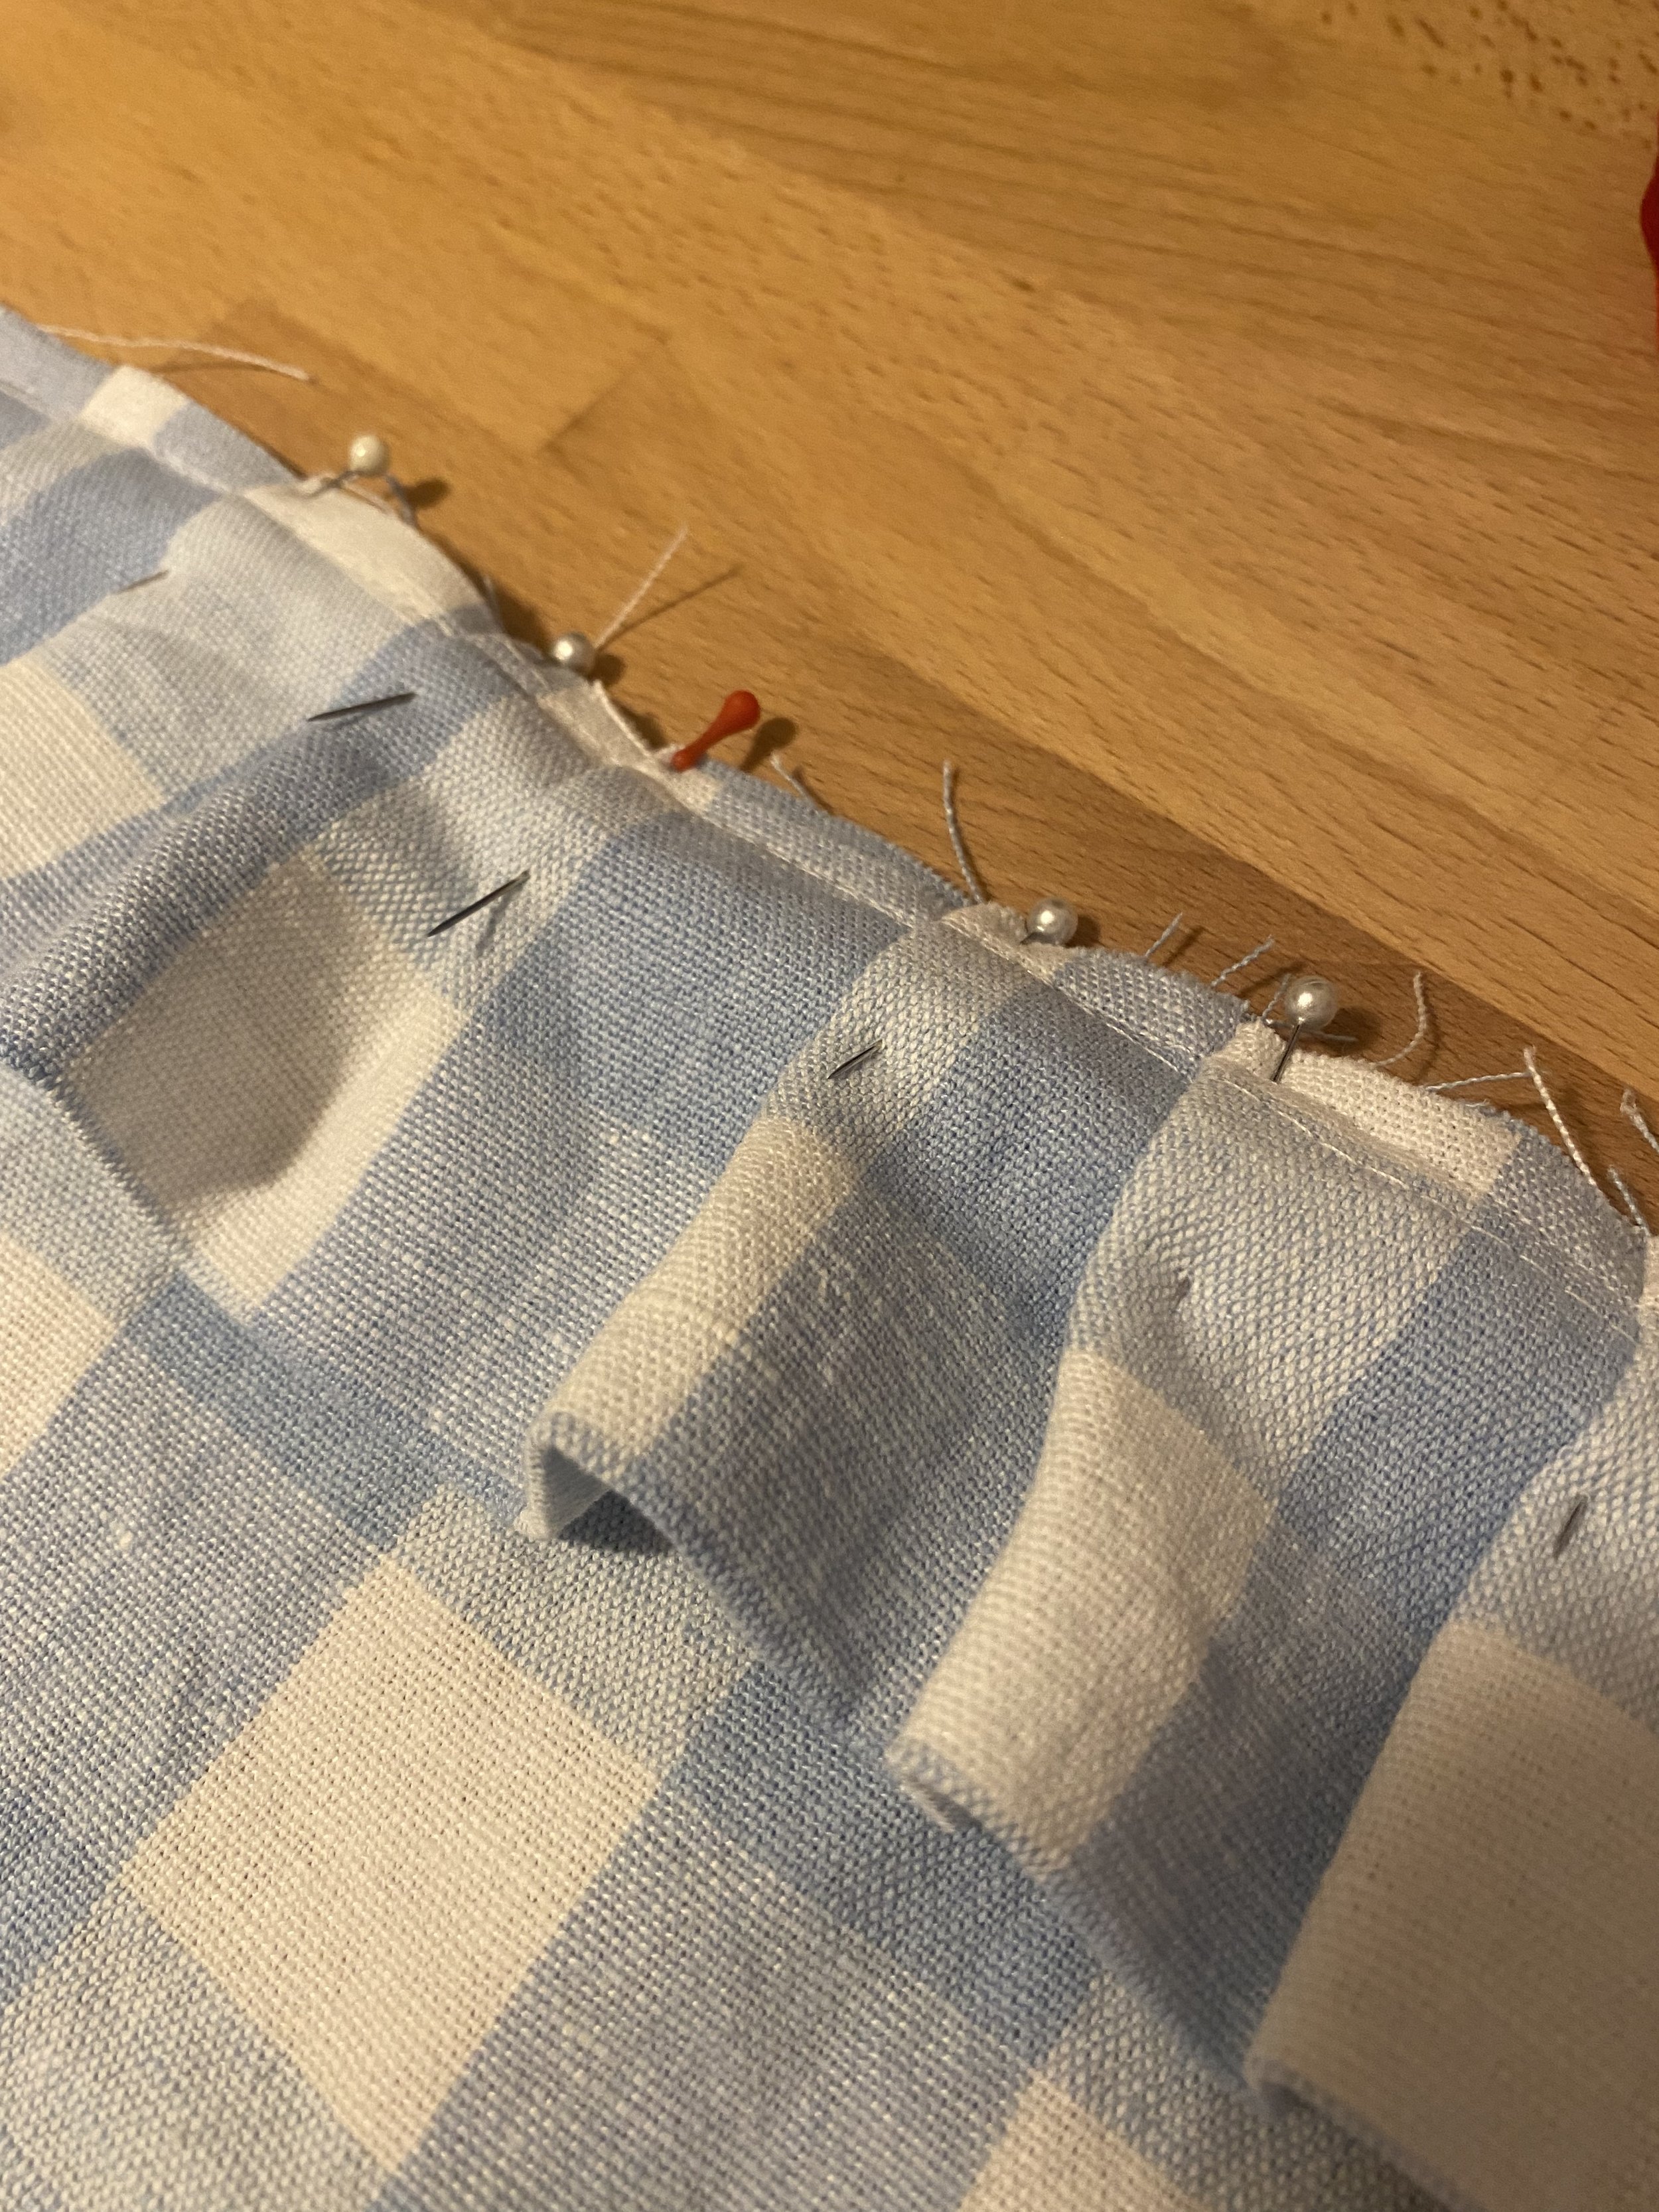
Then I attached all three ruffle pattern pieces at the short edges to one big loop. I pressed the seams open and folded the ruffle in the middle and gave it a good press with my iron. My fabric was too heavy weight to gather up, so I decided to go for hand pleating instead. I divided my ruffle loop into 4 even sections that I marked with pins to know where the corners of the pillow will go. I pinned the four corners to the front pattern piece with the ruffle facing away from the raw edge of the cushion cover. I then marked the halfway point of each side of the front pattern piece and then ruffle and pinned that too before I started to hand pleating the entire loop. This took I while, but I found the process quite meditative. I secured all my ruffles with pins.
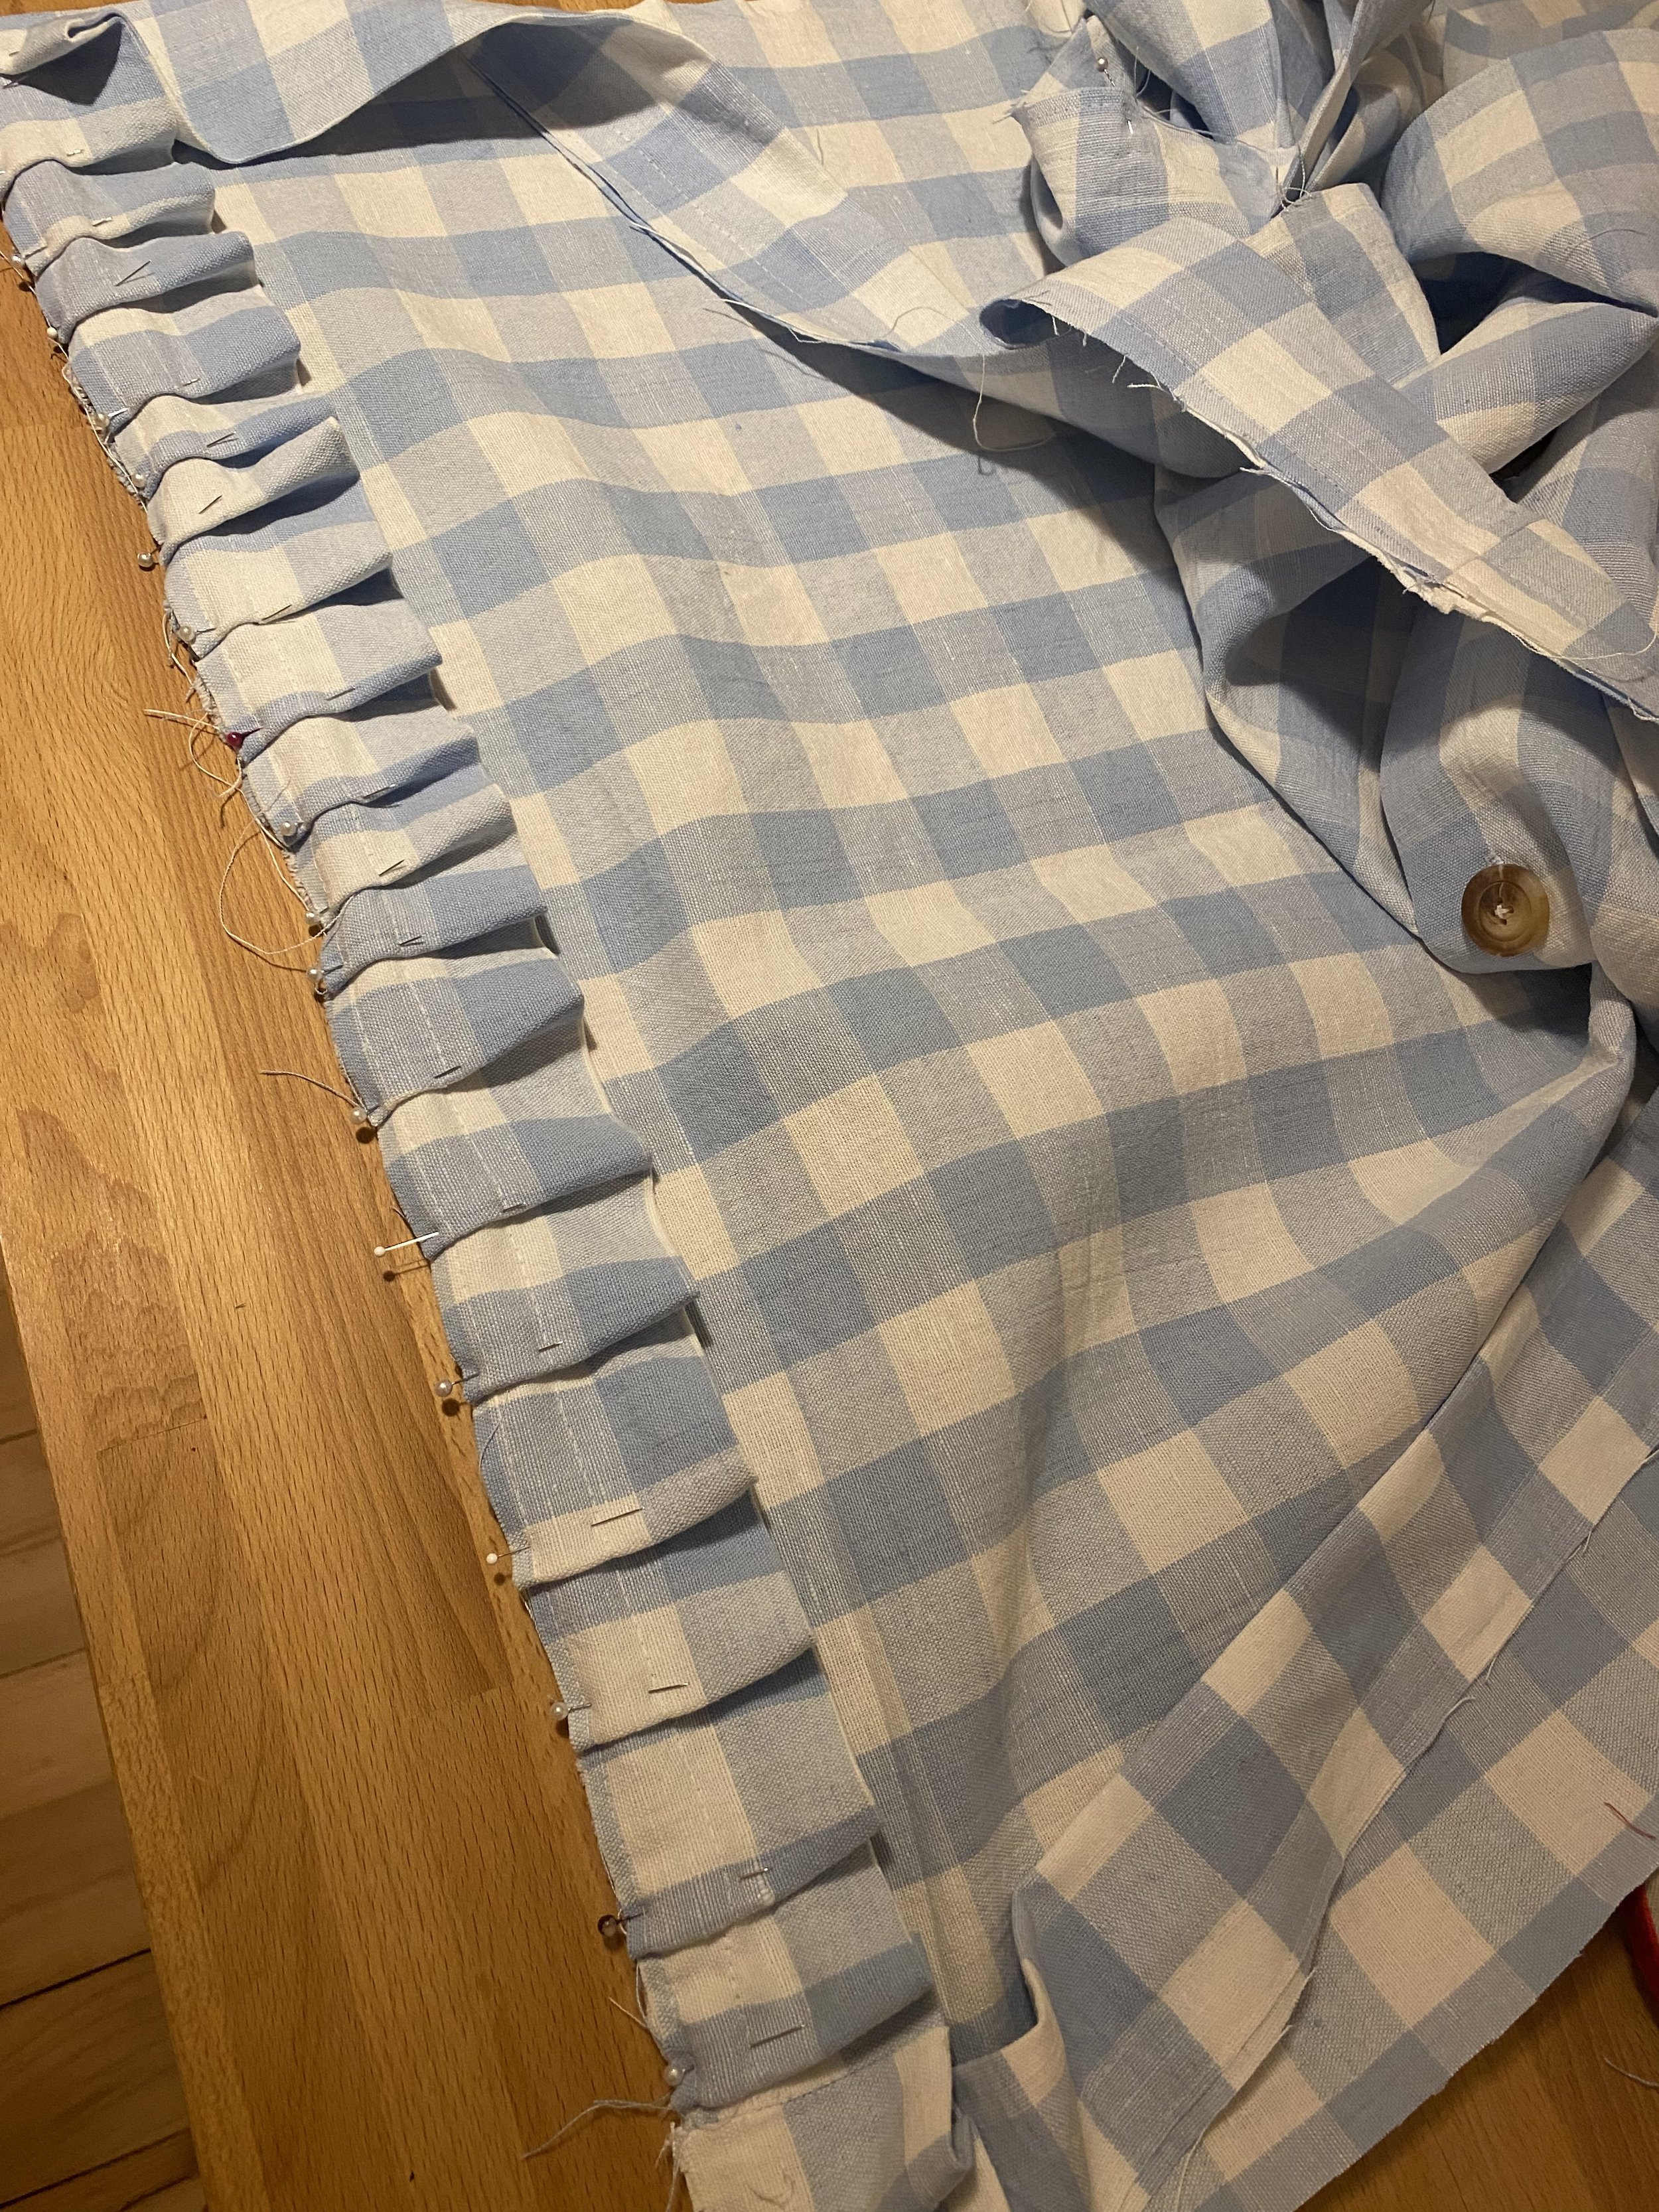
Then, it was finally time to sew the ruffle to the front of my pillow case. Once that was done, I layed my back pattern piece (the one with the buttons and buttonholes) on top of the front pattern piece right fabric sides touching. The ruffle was now in a sandwich.

I stitched around my cushion cover, finished the raw edge with a zigzag and clipped away the corners before turning my cushion cover right sides out. I then inserted my cushion and done!

Such a fun, easy and quick sewing project! This is a perfect sewing project for any beginner sewist out there. Please let me know if you make a cushion cover like this one, I’d love to see it!
